
If your local Stable Diffusion WebUI is generating images painfully slow you might want to read this. There are a few common issues that may cause performance issues with Stable Diffusion that can be fixed rather easily if you know which settings to tweak. So let’s get to it and learn how to make Stable Diffusion run and generate images faster!
Check out also: Run Stable Diffusion WebUI With Less Than 4GB of VRAM – Here Is How!
This web portal is reader-supported, and is a part of the Amazon Services LLC Associates Program and the eBay Partner Network. When you buy using links on our site, we may earn an affiliate commission!
1. Manage Your VRAM Usage
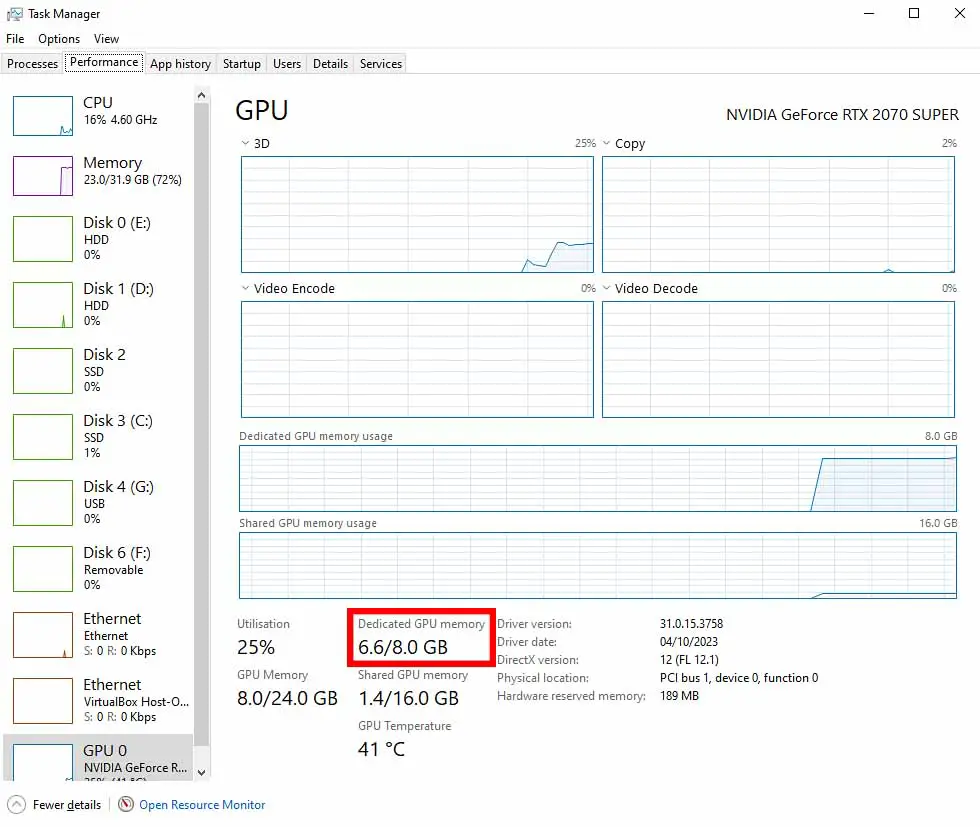
If you don’t have enough VRAM in your GPU, you might either face serious performance issues during image generation, or not being able to start the generation process at all.
VRAM is short for “video RAM”, and by today’s standards it’s a few gigabytes of fast memory which reside on your graphics card and hold data during complex calculations that are going on inside the GPU.
VRAM is separate from the main system operational memory – RAM, which is placed on your motherboard, rather than inside your graphics card.
Stable Diffusion will utilize as much VRAM as you’ll let it. The VRAM usage during image generation depends on many factors, and we have already gone through them in another article.
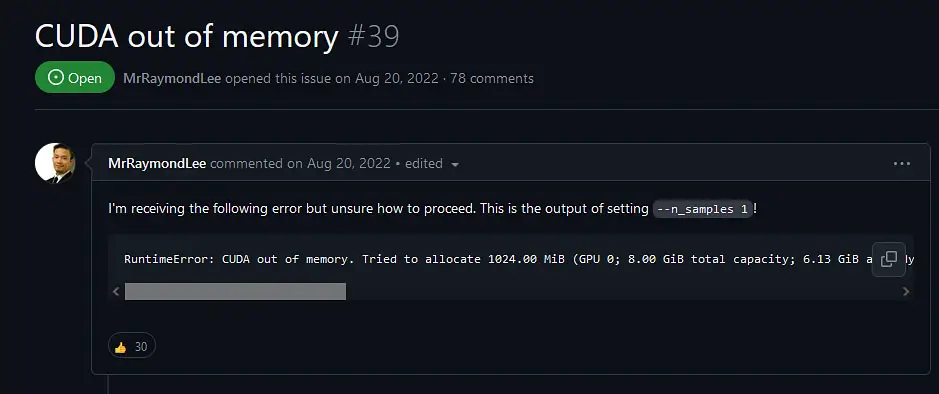
The symptoms of running out of VRAM in most Stable Diffusion WebUI clients (such as the Automatic1111 WebUI, or the ComfyUI) are either total generation failure at some point (on NVIDIA GPUs – the dreaded CUDA Out Of Memory errors), or extreme generation speed slowdown which happens when the generation data which does not fit in the VRAM is passed from the GPU to the main system memory and back.
The things that affect the VRAM usage the most are the generated image size, and the image batch size and batch count. Changing these settings can help you use less VRAM when the image generator is running, and prevent VRAM shortage related slowdowns during generation.
Another way to fix high VRAM usage is to utilize the VRAM limiting features in your chosen WebUI. In ComfyUI for instance, you can start the program with the --lowvram flag. In Automatic1111, you can do a similar thing, using the --lowvram or --medvram flags in the startup file. You can learn how to do that here.
Another neat tip is to disable a feature called “Hardware acceleration” in all of the software that you absolutely need to run simultaneously with Stable Diffusion when generating images – for example Discord. Apps and programs making use of hardware acceleration will eat up VRAM and eat away your GPU resources when they are open. We don’t want that!
As a rule of thumb, you should always refrain from using graphically intense programs when generating your images. Most of them will hog your GPU resources and prevent your Stable Diffusion client from utilizing all of your hardware power.
Important: If you have a lot of VRAM to spare (typically the case if you own a GPU with 12 GB of VRAM and up), make sure that you don’t run your WebUI with any settings meant for lower VRAM graphics cards. These are designed to make image generation possible on lower VRAM systems at the cost of generation speed.
Don’t have a lot of VRAM but still want to generate images locally? You can! – Run Stable Diffusion WebUI With Less Than 4GB of VRAM – Quick Guide
2. Tweak Settings That Affect Image Generation Time
Naturally, the next thing to talk about are the settings that affect the image generation time the most.
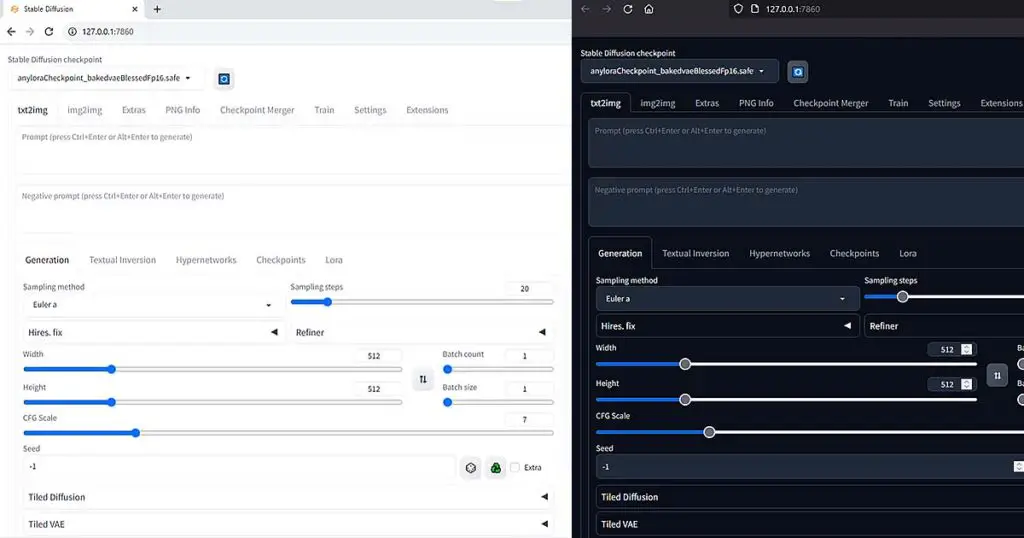
Two main settings that have the most influence on the total image generation time are both the image size and generation steps.
The larger the image you’re trying to generate, the more time the process will take. Similarly, the more steps you use for one image, the longer will it take for the image to be generated.
While the image size is pretty self-explanatory, the steps setting is another thing. The short explanation of the “steps” setting is: each of the samplers you can choose when generating images needs a different number of steps to generate a good quality image.
One of the basic samplers is called “Euler a”, and it typically needs around 20 steps for satisfying results. The “DPM++ SDE Karras” sampler on the other hand, needs around 30-40 steps for the best output quality, at least according to my observations.
More steps = better image quality, but only up to a point. A point which is different for each chosen sampler. But more steps also = longer generation times. So keep that in mind!
Of course, it goes without saying that generating larger batches of images (or more smaller batches) will also take more time. Always tweak your settings according to your hardware capabilities!
3. Make Sure You’re Using Xformers
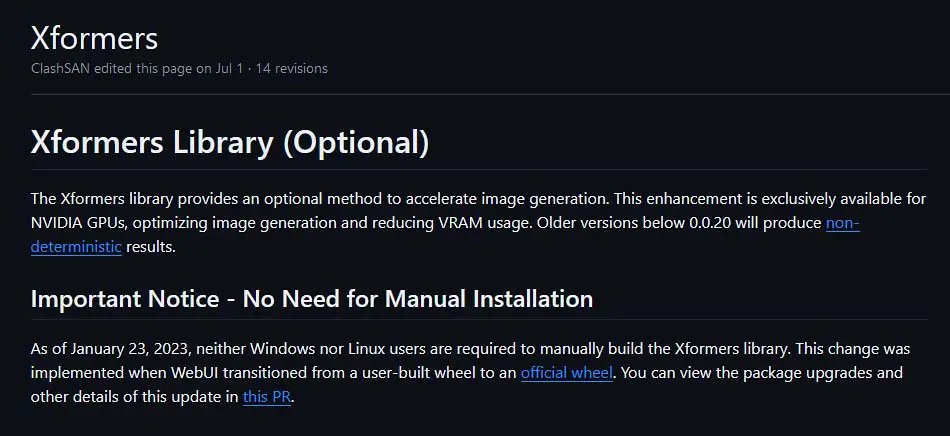
Xformers is essentially a library based on PyTorch which can make your image generation process much faster, and limit your VRAM usage if you have an NVIDIA graphics card.
If you’re not yet using xformers, this is probably one of the most important and effective generation speed-up tip on this list.
With the Automatic1111 WebUI, the process of installing it is as follows. Navigate to the directory you’ve got your WebUI installed in, and edit the “webui-user” file adding the “–xformers” flag after the “set COMMANDLINE_ARGS=” part. Save and close the file.
After you do that, the WebUI will install the Xformers package on restart, and use it for image generator runtime optimizations. This will both lower your VRAM usage substantially, and speed up the image generation process – by a lot.
4. Disable The “Live Previews” Feature
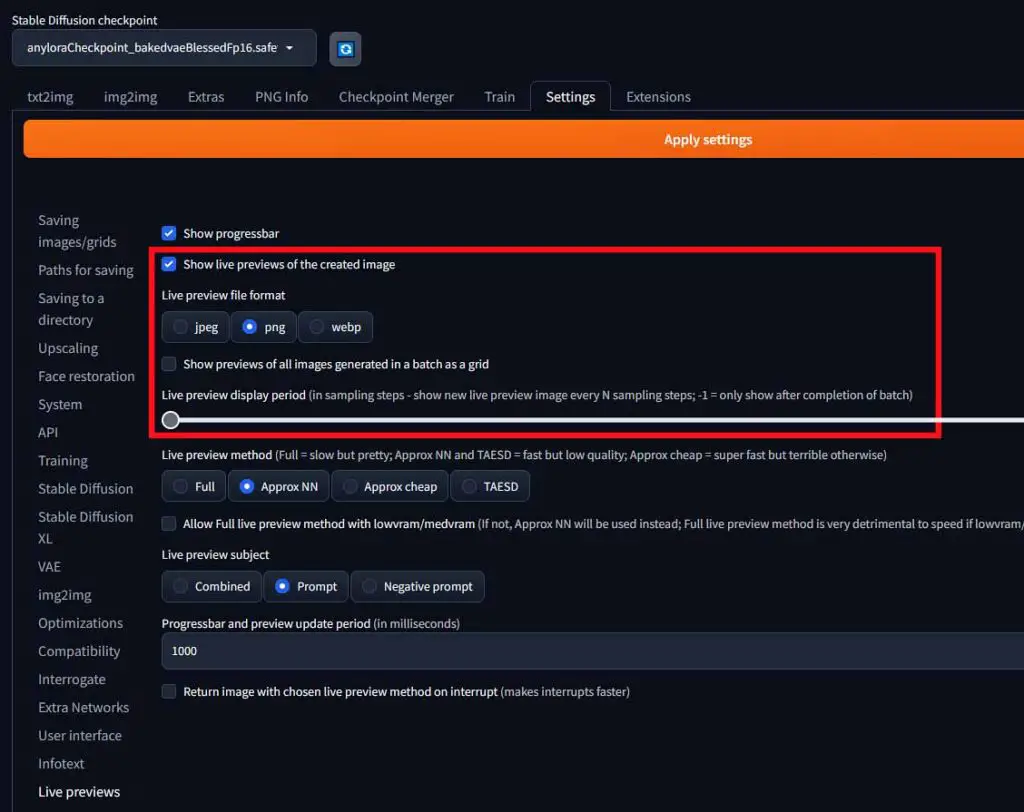
While seeing your image emerge from the chaos of latent noise while it generates is pretty cool (and can be useful during longer generations), it also slows down the image generation process.
If you want faster generation times, consider disabling the live previews in your WebUI. Here is how to do that in the Automatic1111 WebUI.
First, enter the “Settings” tab. Then, navigate to the “Live Previews” section – you can find it in the left hand side sidebar menu. Untick the “Show live previews of the created image” option, and then set the “Live preview display period” slider to the “-1” position. All done!
This will save some resources that would otherwise be used for generating previews, and further speed up image generation.
5. Set Your System Power Options To “High Performance”
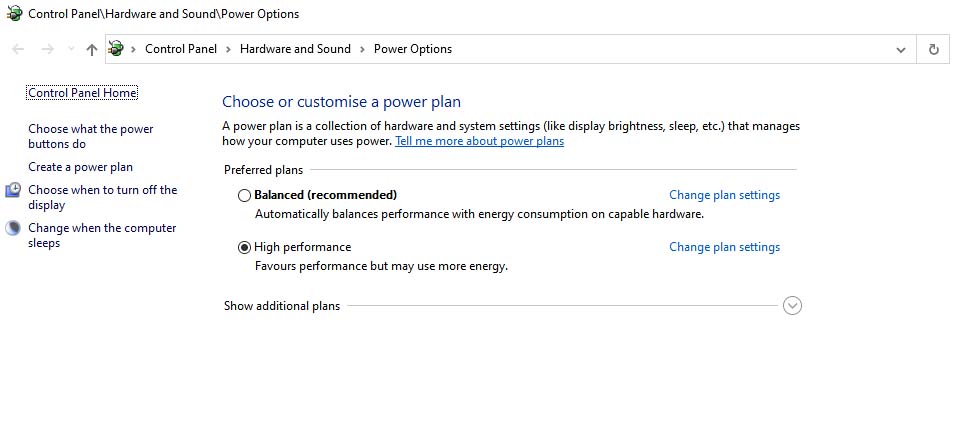
This step applies mostly to those of you who use a laptop to generate your images. Make sure that in your Windows power settings you have the “high performance” plan active.
While this is a tip mostly for laptop users, on a regular desktop PC running Windows the power plan settings are also in effect. Always go for the highest performance plan.
If you’re on another operating system, ensure that you have your power saving features turned off, and that you’re in the highest available performance mode.
But that’s not all! Power management settings also do apply to your GPU. If you have an NVIDIA graphics card, set your NVIDIA global power management model to “maximum performance” mode.
You can do that in the NVIDIA Control Panel. Go to the 3D settings manager and then enter the global settings menu. There you can change the performance modes. On an AMD GPU, adjust your power settings accordingly.
6. Load Your Models Faster From an SSD
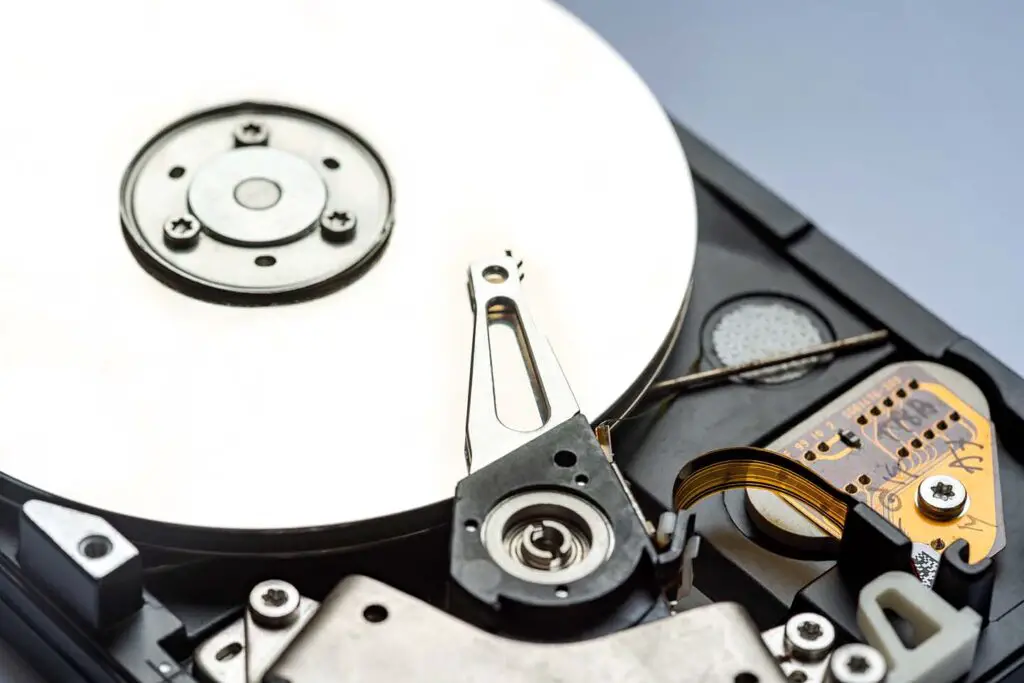
Yes, you read that correct. Although as we’ve said before, the image generation process itself does not benefit from better data read/write speeds or a faster drive in general, the model/checkpoint leading process does. And by a lot.
A large .safetensors format model loading process which can take even up to a minute on a fast HDD, with a fast SSD can be done in seconds.
Also, try to always use checkpoints saved in the .safetensors format rather than the .ckpt ones. They both load faster, and are safer to use than other model formats. Learn more about the .ckpt checkpoint usage risks here!
If you have lots of quality models stashed on your drive and you tend to switch them often like me, consider getting a fast SSD to speed up the process. The difference is noticeable right away if you move all your model files to the new drive. The one I use is the Samsung 990 PRO Series – it also helps with speeding up game loading times!
You might also be interested in this: Ckpt vs. Safetensors In Stable Diffusion (Differences & Safety)
7. Finally, Quite Obviously – Upgrade Your GPU
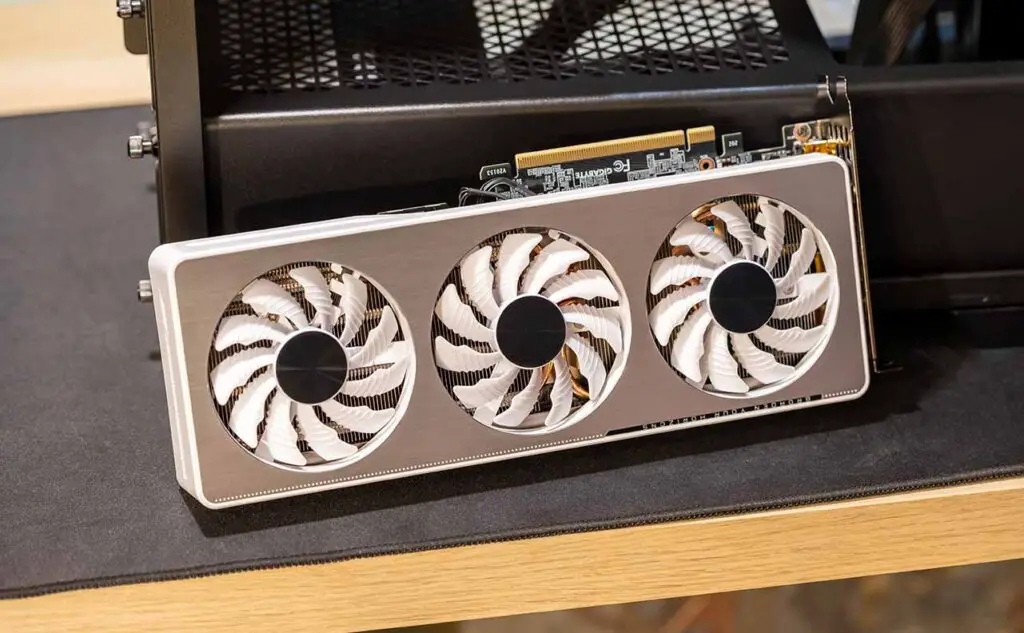
Regardless of how simple this answer might be, it had to be said. If you own an older graphics card and are considering an upgrade, you’ll be astonished how big of a difference in image generation performance a good GPU can make.
Stable Diffusion, regardless of the used front-end/client/WebUI always benefits from two things: more VRAM, and more GPU processing power. And older hardware can only do so much with even the most sophisticated software tweaks.
When you plan an upgrade and you want to reap all the benefits you can for working with locally hosted AI software (which also includes open-source ChatGPT-like Large Language Models BTW), go for the GPU with the highest amount of VRAM and highest main clock speed you can get within your available budget. That’s pretty much it.
One of such cards, very much fit for blazing fast AI image generation is the GeForce RTX 3090 which is both cheaper than the new 4090, and it mitigates the issues you might face with the 4th generation of NVIDIA GPUs and Stable Diffusion.
If you’re not sure if this is the right moment to upgrade your graphics card, take a look here to see all the benefits you get after upgrading your old GPU to a new model. Believe it or not, now it’s one of the best moments to swap your old GPU for a brand new one!
Check out our best GPU recommendations for Stable Diffusion here! – Best GPUs To Upgrade To In The Current Year (An Honest Take)
8. Are You Using Stable Diffusion XL Models?
If like me you’re one of the people who almost immediately after the release of the new Stable Diffusion XL (SDXL) base model have jumped on the bandwagon and attempted to start generating larger and higher quality images using AI, you might have faced the same problem I initially did.
After downloading, importing and loading the new SDXL model and beginning the image generation process, the progress bar moves painfully slow, and the generation takes ages to finish. Why is that?
Well in 99.9% of cases I came across including mine, it’s because of the fact that you’re getting short on VRAM. As the new XL model is much larger than the previous base Stable Diffusion 1.5 and 2.1 models, it also requires more operational memory inside your graphics card to go through with a successful image generation.
To this, you have to add in the fact that Stable Diffusion XL is best for generating images that are 1024×1024 pixels in size (while the preferable size for the previous models was either 512×512 or 768×768 pixels), and we have a recipe for disaster if you’re using a low-VRAM GPU.
So what happens when you run out of VRAM? Well, as a recap we’ll remind you that depending on the client you’re using two things might happen: either the generation will stop abruptly, or it will slow down significantly.
What do we mean by low VRAM here? In the case of the SDXL line models, 8GB and less may be unsuitable for comfortable image generation depending on a few different outside factors and fixes applied.
The significant slowdown is the result of pushing all the data that isn’t able to fit in your GPU VRAM to your regular system RAM. Transporting the data back and forth from the graphics card to the RAM and the other way around during image generation can slow down the process to a point where generating a single image might take long minutes to generate even on a reasonably good GPU.
So what do do about that? Well, if a graphics card upgrade isn’t a possibility, you need to incorporate the very same VRAM saving fixes we mentioned in this very article, and the other, also mentioned before.
Mind that for the Stable Diffusion XL there might exist additional VRAM-saving fixes that are not yet mentioned here (and we do know that new fixes are coming very soon, at least to the Automatic1111 WebUI).