
What Do You Need First – Requirements
First let’s review what do you need to successfully begin the release package installation (and you probably have all of these things already).
- A PC with Windows 10/11 installed.
- An NVIDIA graphics card (a method of installing the WebUI with AMD cards is a bit different, as you will see below).
- Around ~10GB of free disk space.
This is all you need to proceed to the actual installation process!
You might also like: Stable Diffusion WebUI Settings Explained – Beginners Guide
Stable Diffusion Automatic1111 WebUI Installation Steps
These are the exact steps you need to take to install the Automatic1111 WebUI on your Windows system with an NVIDIA graphics card. Let’s begin!
Step 1 – Download The Automatic1111 Release Package
Download the “sd.webui.zip” file from the official Automatic1111 GitHub release page here.
The file may be only around 50 MB in size, but bear in mind that the installation process will download a lot of different files that are needed for the WebUI to run, so you need around 10 GB of free disk space to finish the installation process successfully.
After downloading the file, unzip it in a directory you wish to install the WebUI in.
Step 2 – Run The Update Exectuable To Update The WebUI
This step is very important, as without it you will be stuck with an old and much outdated version of the Stable Diffusion WebUI.
Run the “update.bat” file to update the software to the newest available version. Now you can proceed to the next step!
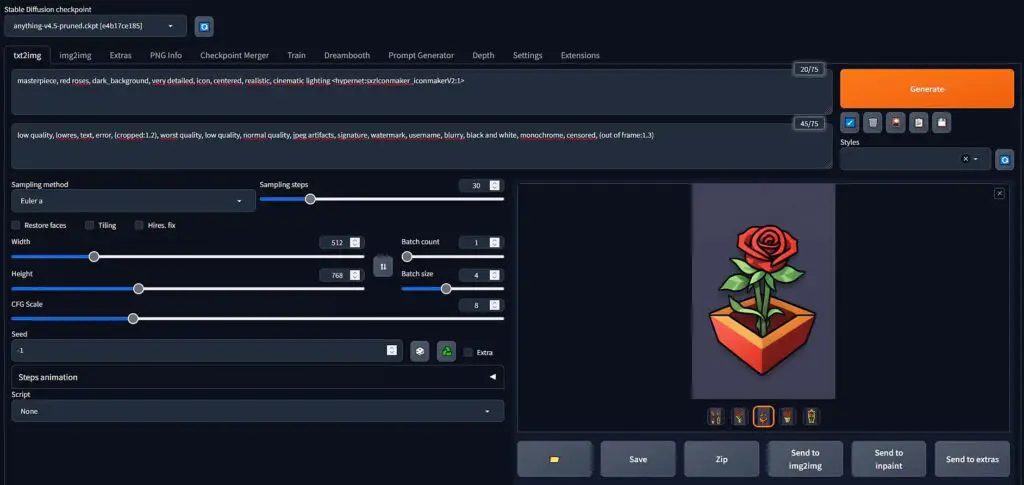
Step 3 – Run The WebUI And Start Generating Images
Now the only thing that’s left for you to do is to run the main executable to launch the Automatic1111 WebUI and start experimenting with AI image generation!
Run the “run.bat” file to start the WebUI. A terminal will open – do not close it! When the program runs for the first time, it will automatically download a few additional files it needs to run so the first startup might take a little bit longer.
Once you see the “Running on local URL: http://127.0.0.1:7860” line in the terminal, you can paste the link into the address bar of the web browser of your choice such as Google Chrome of Firefox and press enter, and the WebUI interface will open. That’s it!
Do not close the Windows terminal that runs the program, once you close it, the WebUI will also be forced to close.
Now let me warn you – there are a lot of different generation settings here that affect the final generated images quality, and you have control over all the most important tweaks right on your fingertips!
Before diving into all this head first, make sure to check out my quick Stable Diffusion settings guide for beginners which goes over all of the most important settings that you can change in the Automatic1111 WebUI!
What If You Don’t Have Enough VRAM To Generate Images? – Out of Memory Errors
If you don’t have enough memory in your GPU, you will most likely be faced with “CUDA out of memory” errors which will prevent you from generating large batches of images, larger resolution images, or in extreme cases, from generating any images at all.
Don’t panic, as there is an extremely easy fix for that. In fact, you can generate images locally with as little as 2GB of graphics card memory!
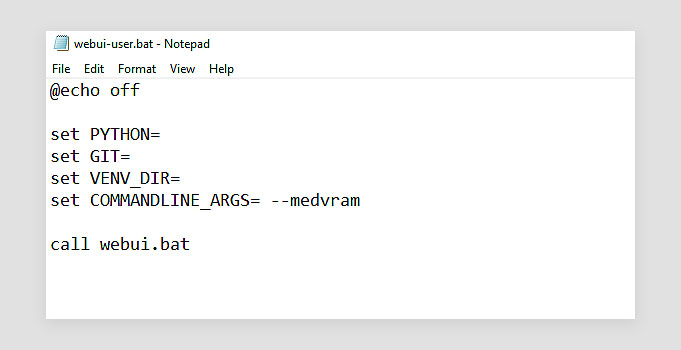
The only thing you need to do to fix the out of memory errors is to add either the –medvram or –lowvram flag to the WebUI executable. Here is a short post on which flag to choose and how to make it work in a few minutes!
The Images Come Out Black
If your generated images come out as solid black or green bitmaps or refuse to generate at all, then the most probably culprits are the dreaded NaN errors which are once again easily mitigable using some more startup flags you can put in the .bat executable for the WebUI.
You can get rid of the NansException / tensor with all NaNs error by editing the startup file in a matter of seconds – here are two main methods on how to do it.
Can Automatic1111 Work With AMD Graphics Cards?
While the official Automatic1111 Stable Diffusion WebUI doesn’t support AMD GPUs, there exists a fork of the project that does. Quite a few features are missing from it, but it provides a way for AMD graphics card users to generate images using the WebUI interface akin to the one presented in the main branch. You can learn more about it here.
That’s it, I hope I was able to help you to get the Stable Diffusion WebUI working on your PC! If you have any more questions or problems with the installation, first check out the automatic installation guide in the official A1111 GitHub repository, or write your question in the comments down below!