
As I’ve already made a guide on how to train Stable Diffusion models using the Kohya GUI, now comes the time for the neat supplement to that, with all of the most important training settings explained, so that you can further improve you own trained LoRA’s!
Note: I won’t be getting into things like (~auto) captioning your images, choosing a base model for your LoRA, advanced training settings and the naming convention for the training folders, alongside with the step calculation. All this is covered in my main quick LoRA training guide you can find here: How To Train Own Stable Diffusion LoRA Models – Full Tutorial!
Kohya GUI LoRA Types
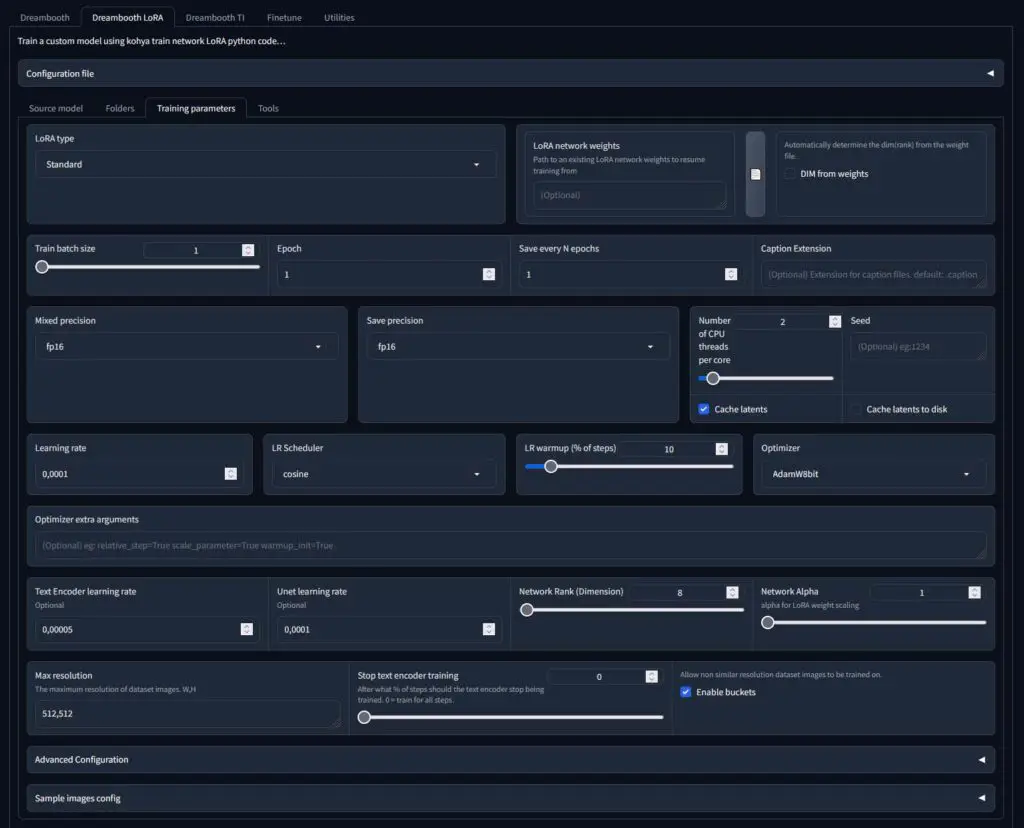
In the Kohya GUI, you’re able to train quite a few different types of LoRA models including the standard LoRA model type, Kohya LoCon, LyCORIS/LoCon and LyCORIS/LoHa. If all this sounds foreign to you, check out my quick explainer on the LyCORIS model family here. or this visual comparison between different LoRA types by Ashe Junius!
If you’re just starting out, in most cases you’re better off selecting the basic, standard LoRA type for your very first test model training. Then, you can experiment with different LoRA types once you figure out the best settings for your particular image dataset and model use case.
In general, adjusting the settings mentioned below will have a much larger impact on your final LoRA quality than changing the LoRA model type, at least in the very beginning. Not just that, but some of the other model types also do require special treatment when it comes to specific setting tweaks.
When you get comfortable with navigating through the different basic LoRA training settings and get the gist of what they do and how they affect your final model, you can safely move onto the unconventional LyCORIS models, which can in certain situations be trained much faster than the standard LoRA’s.
The rule of thumb would be that if you need to read what all of the following training settings do, you most likely really should first try to start out with training a basic LoRA and reach a desired quality, and then only then get into the world of training other models from the LyCORIS family.
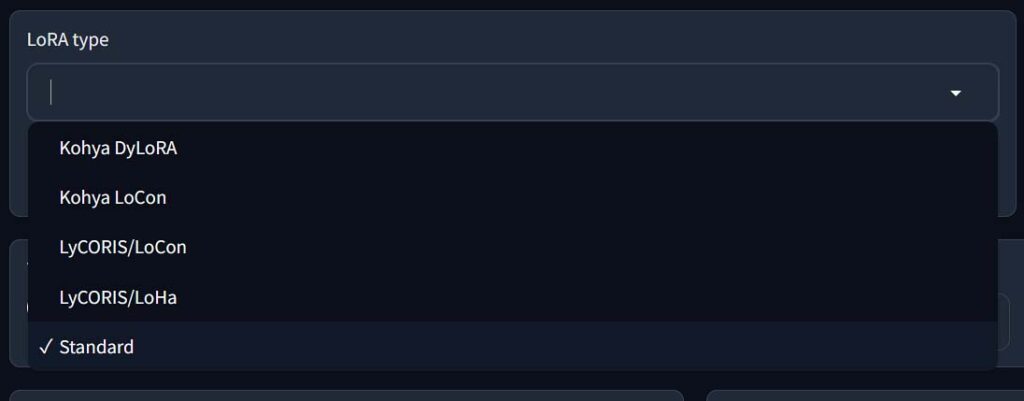
Train Batch Size
The batch size value simply lets you set how many images will be processed or read “in one batch”, so in other words – simultaneously, in parallel. How high you can set this really depends on the amount of VRAM you have to spare.
The more images you can process in parallel (load up into the VRAM at once), the faster you can train your model on a larger amount of images. This setting is not only important when it comes to LoRA model training, but also when it comes to image generation, although there it’s used in a different context. See the comparison between the batch count and batch size settings in the Automatic1111 Stable Diffusion WebUI.
This setting basically lets you use more of your available GPU VRAM to increase the speed of the image generation process by processing more images at the same time. Higher batch sizes though, reportedly come with lesser accuracy of the final LoRA.
Note: If you’re interested in graphics cards that have 12, 16, or even 24GB of VRAM on board, check out my guide on choosing the absolute best GPU for local LLM inference. All of these cards will work like a charm for local image generation with Stable Diffusion!
If you have 8GB of VRAM or less, it’s best to either leave this at 1, or try and see if setting this to 2 won’t cause out-of-memory errors, preventing you from starting the training process.
If you have more VRAM than that, you can experiment with larger batch sizes. The higher this value is, the faster the training process will be at the cost higher of VRAM usage, and even upping the batch size by 1 can make a huge difference.
Once again, with upping the batch size, the overall training accuracy may decrease by just a bit. It is often said that in most situations it’s best to stick to batch sizes not larger than 2-3, even if your hardware allows for more. Also, in general, the higher you set the batch size, the higher you should set the the learning rate. But more on that later.
Note that according to the official Kohya GUI documentation, only images that are of the exact same size are able to be processed together in one batch. If you’re training your LoRA on images of varying sizes, not all of them may be able to be batch processed, and you may not take the full benefit of higher batch size value set.
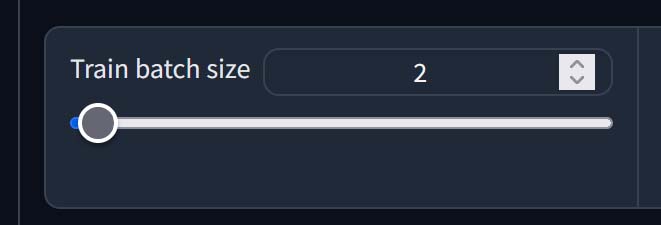
The Number Of Epochs & Steps
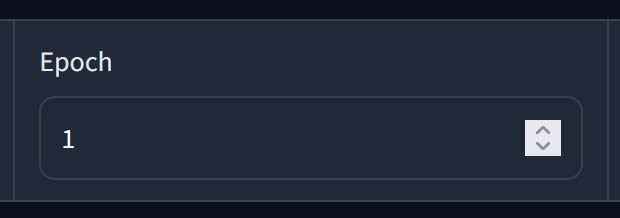
One epoch is essentially one iteration through all of your training set images during the training process.
If each of the images in your training dataset consisting of 20 images would be trained with 40 steps and you opted for 3 training epochs, you would end up with 2400 steps total in the whole training process (assuming batch size equal to 1). If you opted for one epoch only, you would get 800 steps in the entire process.
So, the total number of steps during training can be calculated as follows: [(no. of images x no. of steps/repeats) * no. of epochs], and if you’re using regularization images – two times this value.
The exact number of total steps you should be going for will depend on your training set size (on how many images you have in your training set). For more info, see the next paragraph about overtraining your model.
In general the more training steps the better, up to some certain point, after which the quality of the model either simply won’t get any better, or will start deteriorating. There is really no other easy way to find out the right number for your purposes, than to start with a chosen baseline and experiment.
Kohya GUI gives you an option to automatically save your LoRA model after each epoch has finished training. For that, “save every n epochs” should be set to 1. This way, your LoRA model will be saved after each epoch, and you will finish with a few, ideally progressively more accurate LoRA’s to choose from in the very end.
To learn how to tell the Kohya GUI how many training steps you want to set for each image, refer to my main LoRA training guide here.
And yes, in practice you can train a good quality LoRA in just 1 epoch with the sufficient amount of training steps per image (I have done that quite a few times already).
What Does “Overbaking” or “Overtraining” a LoRA Mean?
When a LoRA is said to be overbaked, overtrained, or simply burned, in most cases simply means that it was either trained for too long, or to be precise, with too many training steps per image, or in some cases, that it had other settings chosen inappropriately (for instance the u-net learning rate set too high).
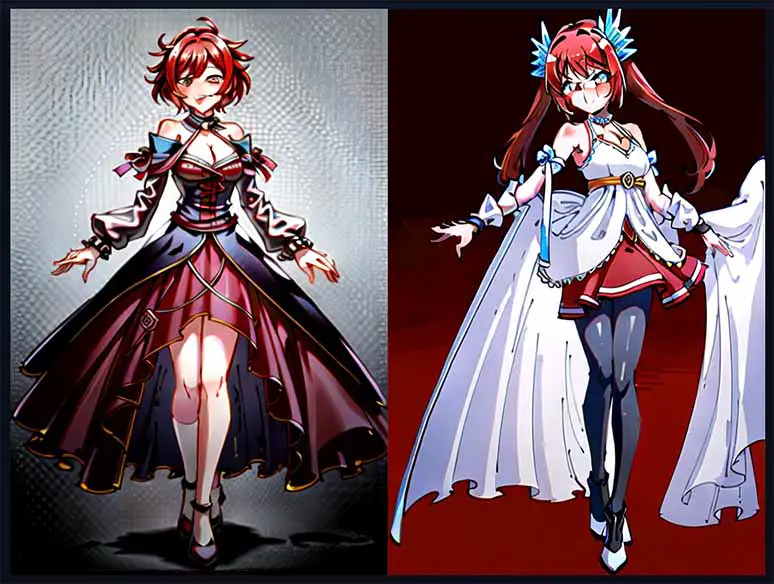
In general ML terms, an overtrained model is a model that can do nearly perfect predictions in relation to its training set, but is nearly unable to generalize and make predictions for new data. An overtrained LoRA when invoked in a generation prompt will try its best to stick very close to the original training material, and oftentimes will effectively ruin your images.
Overtrained LoRAs when applied to a base Stable Diffusion model will greatly distort the image and in some cases, make it totally unusable. Your job here is “simply” to find a sweet-spot for the perfect step count per image and other training settings, for your specific image dataset.
You can still attempt to use a slightly overbaked LoRA by lowering its weight in the invocation prompt, however in general you should aim for producing a LoRA which behaves exactly how you want it to with its prompt weight set to “1”. In a perfect world, you should be able to freely adjust the effects of your LoRa on the final generated image without significant image distortion, within the prompt weight range of ~0.5-1.5.
Mixed Precision & Save Precision
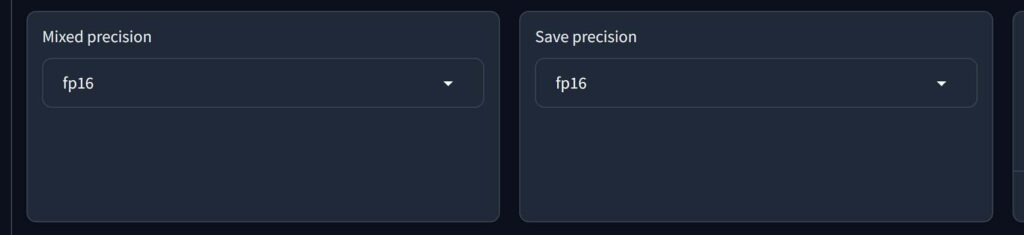
Kohya GUI allows you to make use of different modes of floating point number representation to save memory and train your LoRA models faster. In the default configuration, when no settings are changed, your model’s weight data is saved in full-precision – that is 32-bit units.
To speed up training and save video memory you can choose to use half-precision 16-bit data units instead. There are two main half-precision modes available here: fp16 – which is available on most newer GPUs, and the bf16 – which is only available on 3xxx and 4xxx NVIDIA cards, and won’t work on 10xx and 20xx cards (for example, it cannot be used with my old RTX 2070 SUPER).
Training in bf16 is slightly faster than training in fp16, and both of these are faster than training in fp32.
While choosing to use half precision in practice lowers the amount of data saved in the model weights and can slightly decrease the LoRA’s accuracy, in most cases it’s a negligible difference.
Save precision is simply a setting which dictates the type of weight data format in the final LoRA model file. If you’re using full-precision (32-bit) for training, you want to save your model with full-precision data format. Analogously, you want to save half-precision (16-bit) trained models with half-precision weight data.
Network Dimensions/Rank
The network dimensions, also called the network’s rank, essentially tell you how much information is stored in the LoRA model.
Higher network rank or dimensions value set means that your LoRA will be able to store more data, but it also increases the risk of unnecessary data being introduced into the model, and quite understandably makes the finished model file bigger.
The larger the network, the more space will the final LoRA model file take up, as it will contain more data. This however also means that it can be more accurate in certain conditions.
Reasonable and widely used values for Network Dimensions parameter is either 4/8 – the default setting in the Kohya GUI, may be a little bit too low for training some more detailed concepts, but can be sufficient for training your first test model, 32/64 – as a neat universal value, 128 – for character LoRA’s, faces and simpler concepts, to 256 – for general artstyles and very broad concepts with large image training sets and detailed material.
The more general your training material is, and the less small intricate detail the images have, the lower you can set the network rank. Roughly speaking, lower network ranks do well for faces and character styles, highers ones – for specific artist styles and general aesthetics.
In my personal experience with different LoRA models, in practice network dimensions higher than 128 or 256 are hardly ever used, and sometimes with simpler characters and concepts you can make do with setting the network rank as low as 2 or 4. Once again, as with almost all settings mentioned in this article, experimentation is key.
Setting the network size/rank to a lower value will use up less VRAM during training, limit the final size of the LoRA model and speed up the training process, while possibly sacrificing some details covered by the model during use.
Network Alpha
The network alpha parameter is used to scale the model’s weights on save, by multiplying the network rank by (network alpha / network rank) value. All this, to prevent zeroing of small weight values in the final version of the trained LoRA.
An important thing is that when the network rank and the network alpha settings are set to the same value, the network alpha setting won’t have any effect on your trained LoRA. Another important thing is that the network alpha should never exceed the network rank. If it does, you might easily compromise the quality of your LoRA (try it yourself).
One last thing about the network alpha value is that together with network rank it should directly affect your learning rate value choice, as both these settings have impact on the weight values in your LoRA morel. If you choose an alpha value of 64, and set your network dimensions to 128, the strength of the model weights will decrease by 0.5, meaning that your learning rate will have only half the effect on the training process (as per the official Kohya GUI documentation here). Again, when starting out you can forget about this problem by setting both network rank and alpha to the same value.
If after finishing the training, your LoRA isn’t really working well for representing your desired style accurately, among other things, this may be because of the network alpha set too high.
If you’re unsure of what you’re doing, or you want to try out tweaking other settings first to improve your LoRA model, it’s best to move and change the network rank and network alpha settings together so that their values stay identical.
By the way, here is a very nice writeup with image examples on network rank and alpha parameters for LoRA models, yet again written by Ashe Junius. Be sure to check it out!
Optimizer
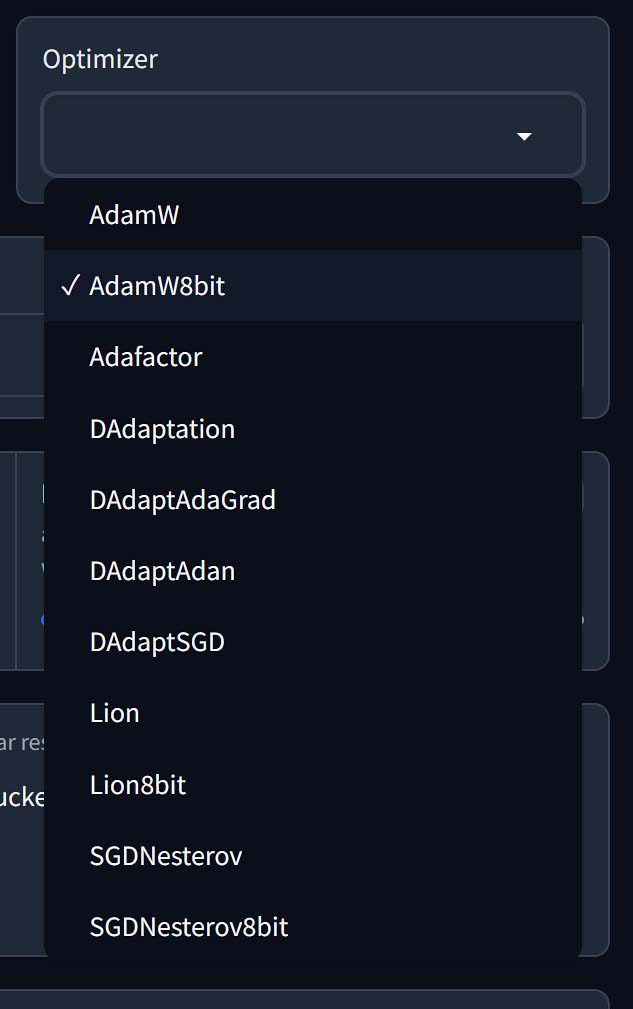
The optimizer is responsible for updating the weights of the neural network during the training/learning process. There are various different optimizers available to choose from in the Kohya GUI, and choosing between them is a topic for a whole new article. What really should matter to you is that the default AdamW optimizer has no trouble with aiding with the process of training high quality LoRA’s, and there is no real reason to change this setting when you’re just starting out, unless you’re very low on VRAM (more on that in a while). Your next choice can be the AdamW8bit optimizer, which is just a bit more efficient, and use up way less VRAM.
Sadly, on 1xxx (first generation) NVIDIA GPUs, you won’t be able to use AdamW8bit. If that’s the case for you, you need to try out other options, the default one being AdamW.
When it comes to the VRAM usage, the AdamW8bit and AdaFactor seem to use the least amount of video memory, while the AdamW, DAdaptAdam and Prodigy, among a few others are much more VRAM hungry. You can check the estimated VRAM usage of the most available optimizers in this community made LoRA training guide over on Rentry.
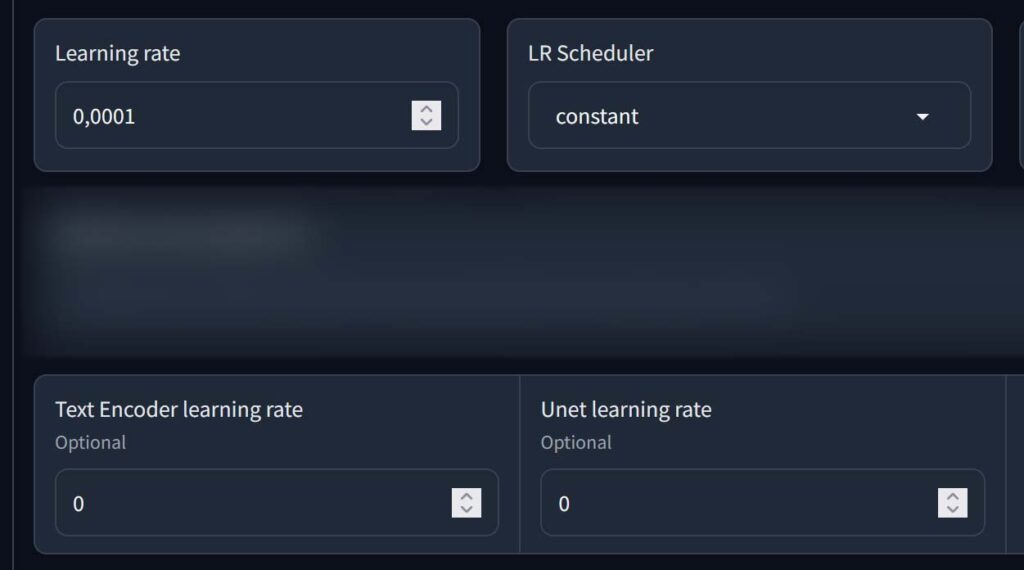
Learning Rate & Scheduler Settings
As you might already know if you have some background in ML, learning rate defines how large of a step should the training algorithm take on each training iteration when attempting to minimize the training errors. The higher the learning rate is set, the faster the training process will be, but also the more styling details can/will be missed by the fully trained model. The learning rate, should generally be adjusted by the same factor you adjust your training batch size.
As you can learn from the official LoRA repository over on GitHub, while the 1e-4 (in decimal notation 0.0001) main learning rate is in most cases sufficient for most basic applications, when you get the hang of the whole LoRA model training process you can try and experiment with changing the learning rate of the u-net and the text encoder separately to improve your LoRAs even further.
In Kohya GUI you’re able to control the learning rate either by typing in a value for the main learning rate, which will set the text encoder learning rate and the u-net learning rate, or changing the values of the encoder and u-net learning rates separately. It’s important to note that if you change the encoder or u-net learning rate values in the GUI, their new settings will override the main learning rate value set.
So, simplifying things a bit:
- Main learning rate: Controls both the TE learning rate and U-net learning rate values.
- Text Encoder (TE) learning rate: Higher – more prompt control using the training tags during image generation and potentially more unwanted objects generated, lower – better object separation and overall worse prompt token response.
- Unet learning rate: In general if your model has trouble with small intricate details or has little to no effect on the generation you need to set it higher, if you face noise, color distortion, or weirdly placed unrelated details in the generated images, it might need to be lowered.
As a rule of thumb, if you need to change the main learning rate value, you should change it by the same factor you change your training batch size. If you’re not sure if you even want to tweak these settings at all, and you’re not working on batches larger than 2, it’s safe to leave them by default when training your first LoRA.
Note: Keep in mind that these simplified tips, while based on facts and experience are highly dependent on the context of your particular training situation. Many of the settings involved in training a LoRA model are highly dependent on each other, and in many cases, the “culprit” might not be the setting you’ve just spent hours to get right.
Last but not least, the LR Scheduler is, as you might have guessed, the learning rate scheduler which allows you to set the learning rate value to dynamically change during training in many different ways, as opposed to the default setting which makes the learning rate a constant value all throughout the process. For starters, you can experiment with the two basic LR Schedulers: the default “constant” (if you’re using DAdaptation, AdaFactor or Prodigy optimizer), and “cosine”/”cosine_with_restarts” for the other optimizers.
Max Resolution
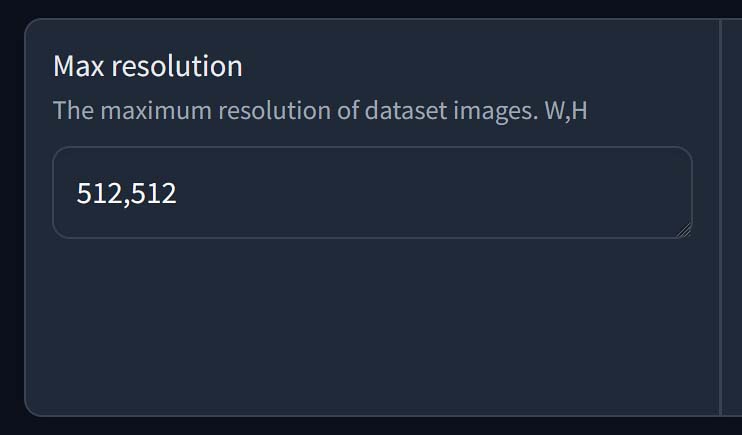
The default training resolution in Kohya GUI is 512×512 pixels, and it’s in most cases more than sufficient for models based on the Stable Diffusion 1.5 checkpoint.
If you want to train a LoRA on a set of larger images, like 768×768, or even 1024×1024, keep in mind that the more you up the max training resolution setting, the more VRAM you’ll need to train the model.
The rule of thumb here is to train your LoRA on images either close to the preferred image size of the images you want to generate using it, or close to the size of images the model you’re using as the base of your LoRA was trained on, the latter one being arguably more important. Training the model on larger images can increase the model’s accuracy and ability to represent smaller details, but it will also take up more VRAM during the process.
Remember that you can always use images of varying sizes in your dataset with the use of image bucketing. More on that in the main LoRA training guide here.
Number Of CPU Threads Per Core
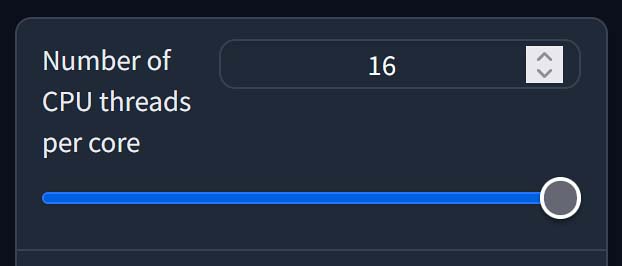
This is one of the simplest settings – it tells Kohya GUI how many CPU threads it can use when training the model. As LoRA model training is really a GPU-heavy process, and it doesn’t use much of your CPU, this is by default set to 2 threads.
Setting the number of threads per core to a higher value can slightly speed up the training process, but in most cases it won’t be a significant impact. Feel free to maxx this setting out if you have the cores to spare!
Generating Control Images During Training
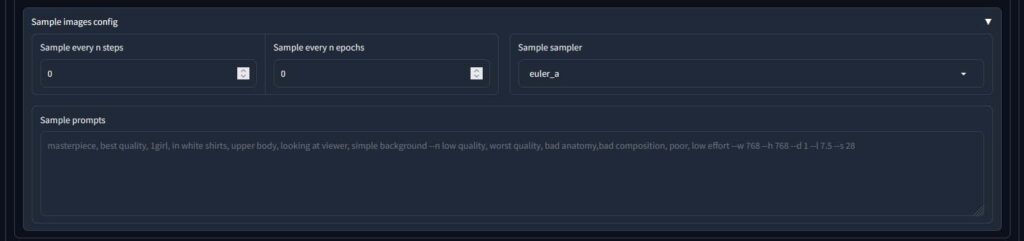
Kohya GUI gives you an option to generate control images when training your model to assess its quality as you go. You can generate a snapshot image with a custom prompt after each set amount of steps or epochs, for instance every 300 steps, or every 1 epoch.
If you do this, once the training process reaches the 300th step it will temporarily pause, and start generating an image with the prompt you’ve specified earlier. When the image finishes generating, the model training will resume. This way, you will be able to see the evolution of your LoRA model as it becomes better and better at depicting material from your training set. Another snapshot will be generated after the 600th step, and so on.
Keep in mind that while the control images that are by default generated automatically without any setting tweaks or negative prompt in use can be a neat indicator of the current state of your model in training, many times over they aren’t really an accurate representation of the real life usability of your new LoRA. Take what you see with a grain of salt!
Check out also: How To Use LyCORIS Models In Stable Diffusion – Quick Guide
You might also like: How to Use LoRA Models with Stable Diffusion WebUI – Quick Tutorial