
Here is how to use LoRA models with Stable Diffusion WebUI – full quick tutorial in 2 short steps! Discover the amazing world of LoRA trained model styles, learn how to utilize them in minutes and benefit from their small file sizes and control that they give you over the image generation process. Along the way you’ll also learn what exactly LoRA models are, and how do they differ from most traditional Stable Diffusion checkpoint fine-tunings. Let’s begin!
Check out also: How To Use LyCORIS Models In Stable Diffusion – Quick Guide
What are the LoRA models? – Simply Explained

As of now, we have quite a few different ways of training and fine-tuning Stable Diffusion models. These include training the models using Dreambooth which is available as a base SD functionality extension, making use of textual inversion techniques, hypernetworks, merging checkpoints with different characteristics together, and finally, utilizing LoRa (Low-Rank Adaptation) models to introduce new styles when generating images using an existing Stable Diffusion checkpoint.
Fine-tuning in the context of Stable Diffusion for those who didn’t yet know, is (simplifying things a bit) a way of introducing new personalized styles or elements into your generations without having to train a full Stable Diffusion checkpoint for that.
Low-Rank Adaptation is essentially a method of fine-tuning the cross-attention layers of Stable Diffusion models that allows you to apply consistent image styles to your Stable Diffusion based image generations. You can learn much more about the technical process involved here.
One very important characteristic of LoRa trained models is the fact that they need to be used alongside a base Stable Diffusion model during the generation process. A LoRA model by itself, won’t be able to generate an image.
Typically, LoRA trained models available on civit.ai will range in size somewhere from 50 Mb for up to around 1GB, although this of course always depends on the amount of data inside the model itself.
LoRA models have many advantages over other fine-tuning methods. They are relatively small in size, efficient, simple to use and widespread, and very easy to train – here is how you can do that on your own PC!
Training LoRA models is also more memory efficient and it requires way less RAM than for example fine-tuning Stable Diffusion models using Dreambooth. And if you want even more efficient training you might be also interested in LyCORIS models as well!
LoRA Models vs. Base Models/Checkpoints
A question often asked by beginners is: how do LoRA models actually differ from Stable Diffusion models/checkpoints. As we’ve already touched upon that topic in the previous paragraph, here is the rest of the answer.
Stable Diffusion checkpoints often by oversimplification called “models” are simply variations on the base Stable Diffusion 1.5 or 2.1 models additionally trained on different types of imagery. You can find various different Stable Diffusion checkpoints online available for free download on sites such as civit.ai, or huggingface.co
Different Stable Diffusion checkpoints usually have different designated uses, as they are fine-tuned on different image styles. For instance you can find checkpoints that are best used for generating realistic photos, anime-styled images, pixel art characters and much more.
Stable Diffusion models/checkpoints are most of the time files that are rather big (a few gigabytes in size). In Automatic1111 WebUI you can import and use different checkpoints simply by putting the checkpoint files inside the models folder and selecting your desired checkpoint/model inside the WebUI before generating a new image.
LoRA models are essentially, as we’ve already said, Stable Diffusion cross-attention layer fine-tunings that are typically smaller in size than basic Stable Diffusion model checkpoints, and that need an actual Stable Diffusion checkpoint to be used alongside them. They can help you achieve different consistent image generation styles depending on the particular LoRA you choose.
While Stable Diffusion checkpoints can be used without any additional data, a LoRA model has to be used alongside a arbitrarily chosen Stable Diffusion model/checkpoint for you to be able to generate images.
How To Use LoRA models in Automatic1111 WebUI – Step By Step
The Automatic1111 Stable Diffusion WebUI has native LoRA and LyCORIS model support, so you can use your newly downloaded LoRA models without installing any additional plugins, extensions or addons. And so, here is the quick step-by-step tutorial on using LoRA models in the SD WebUI.
To make use of LoRA models, the only two things you need to do are:
Step 1 – Download And Import Your LoRA Models
After you’ve downloaded your models, put your LoRA model files inside this catalogue: ~stable-diffusion-webui/models/Lora. The exact filepath will depend on the directory you’ve set up your WebUI in.
Step 2 – Invoke Your LoRA Model In Your Prompt
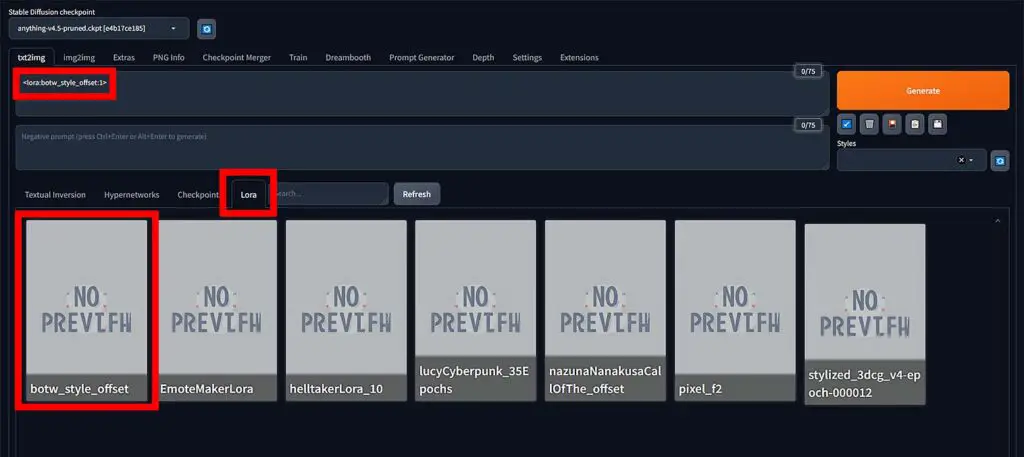
After creating your image generation prompt, click the Lora tab in the menu you can find right under the negative prompt window, click the Refresh button, and finally choose your desired LoRA model from the list.
After you do that, the LoRA activation prompt phrase should show up in the prompt window like so: <lora:lorafilename:multiplier>, where the lorafilename is the name of your downloaded LoRA file, and the multiplier is the desired weight of the LoRA styling.
The multiplier should be set between 0 (no LoRA style effect visible) to 1 (chosen LoRA in full effect).
If you want to, you can also omit clicking on the LoRA preview in the Lora tab, and just type in or copy over the LoRA invocation line into your prompt by yourself!
What If Your LoRA Models Aren’t Showing In The Lora Tab?
If no LoRA models show up after you click the LoRA library button, make sure that you’ve put your downloaded LoRA models in the correct folder. They should be placed in ~stable-diffusion-webui/models/Lora.
Once you have moved them over to this location, refresh the LoRA list using the refresh button in the Style Library itself, or restart the WebUI. Now they should properly display on the list.
Let’s move on for some examples of LoRA model usage in Stable Diffusion WebUI!
Stable Diffusion LoRA Model Prompt Examples
Here are two examples of how you can use your imported LoRa models in your Stable Diffusion prompts:
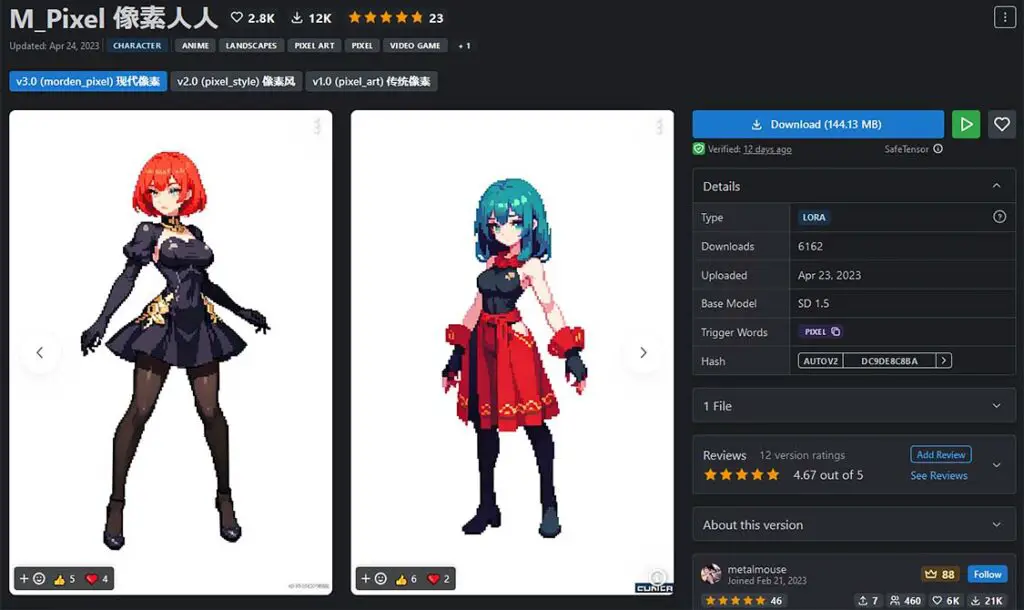
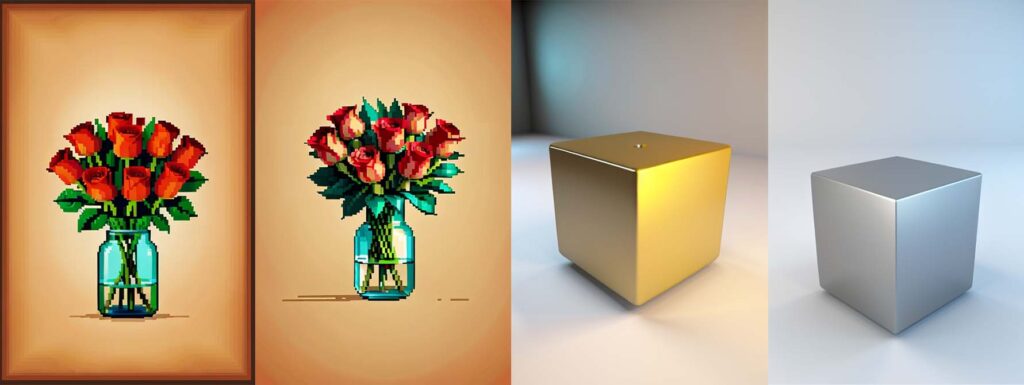
- Prompt: (masterpiece, top quality, best quality), pixel, pixel art, bunch of red roses <lora:pixel_f2:0.5>
- Negative prompt: (worst quality, low quality:2)
- LoRA link: M_Pixel 像素人人 – Civit.ai – Pixel art style LoRA.
- Prompt: high quality, 3d render, blender render, one single metal cube in an empty room, <lora:stylized_3dcg_v4-epoch-000012:1>
- Negative prompt: (worst quality, low quality:2)
- LoRA link: Stylized 3D Model LoRA – Civit.ai – 3D rendered image style LoRA.
And here are the exact settings used for generating images in both of our examples:
- Steps: 34, Sampler: Euler a, CFG scale: 6.5, Seed: 1922503763, Size: 512×768, Model hash: c5b6055a84, Clip skip: 2, ENSD: 31337
Remember that both your prompt keywords and the multiplier value at the end of your LoRA activation will affect the image generation process. It’s best to use prompt keywords that are related to your chosen LoRA style to assure more consistent styling of your newly generated images.
Another great thing is that you can also use LoRA models for both for the img2img functionality of the Stable Diffusion WebUI, and for inpainting. Although this requires modifying a few different settings to achieve satisfying results (for example the denoise level in the img2img tab), it can yield great results when you get experiment with it for a bit!
Best Sources for Free LoRA Models
Here are one of the best sources out there for downloading free LoRA models for Stable Diffusion. Feel free to browse through these sites to find the LoRA models with the image styles you need. Lots of great stuff here!
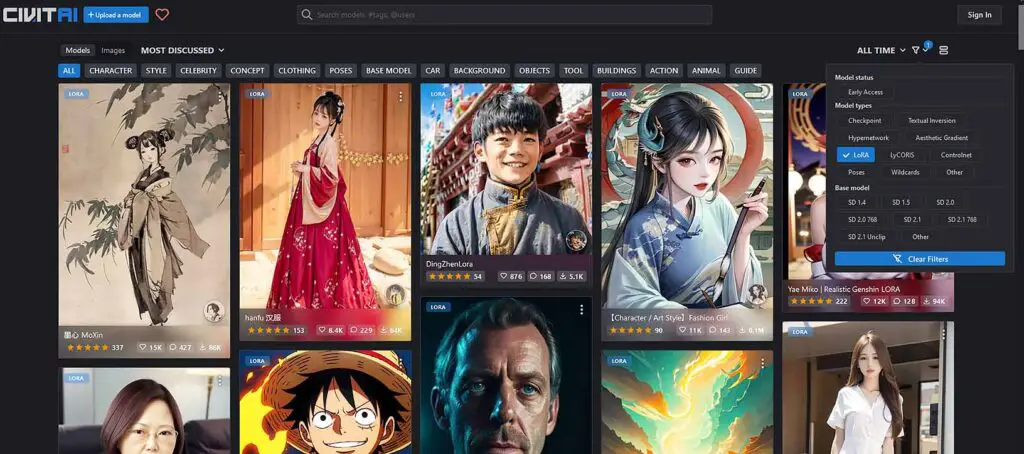
- Civit.ai – lots of great compact LoRA models with many great anime-style character related fine-tunings.
- Huggingface.co – they have very diverse set of LoRA models in their collection, which is also worth exploring after you’re done on Civit.
For now, these two places are the only ones with a reasonably sized libary of different LoRA styles. When another big one emerges, we’ll add it to this list!
How To Train LoRA Models By Yourself?
You can train your very own LoRA models by yourself, on your own photos, pictures of your favorite anime character, or particular artist’s style to invoke them into your image generations without training a whole Stable Diffusion checkpoint for that. And it’s pretty easy too!
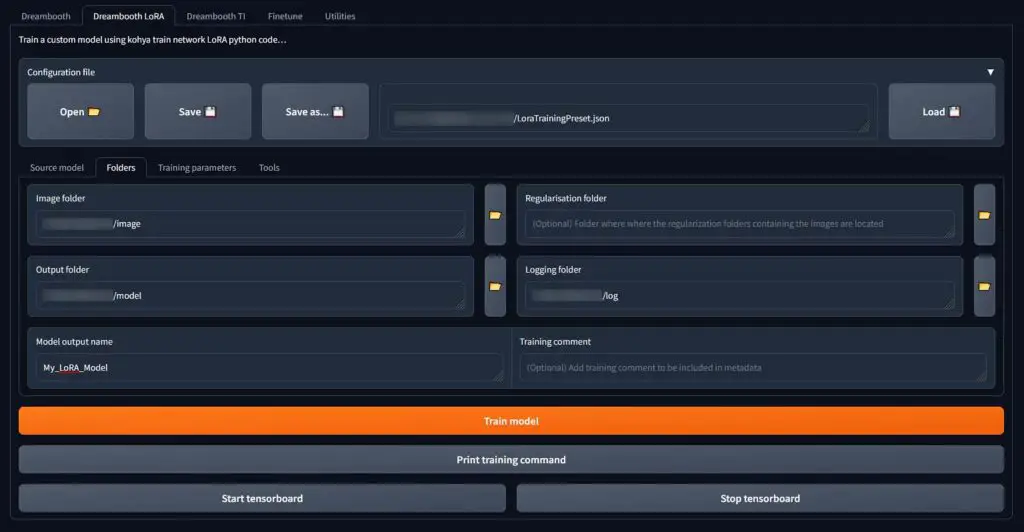
The possibilities are almost endless, and the only thing you need with our express method of training LoRA models is another UI meant for creating customized LoRA fine-tunings – the Kohya GUI.
Here is our short and straight-to-the point guide that will let you begin training your first basic, fully functional LoRA model in around 20 minutes! – How To Train Own Stable Diffusion LoRA Models – Full Tutorial!
If you’d like to check out other, LoRA training guides (which are also great, but a little bit less straightforward to follow), here are the best resources we found on training your own LoRA models with a short description of what you can expect when getting into each of these. Happy training!
- LoRA training guide Version 3 on Reddit / Imgur – The whole process explained in a long infographic – pretty neat.
- LoRA Training Guide Rentry – The lengthy training process explained in reasonably simple terms.
- “The Other LoRA Training Rentry” – A guide that’s a little bit longer, a different set of LoRA training methods.
A Word About LyCORIS Models
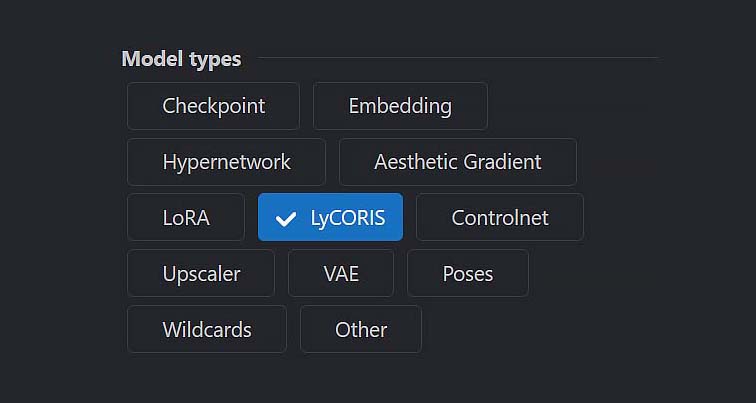
LyCORIS models which you may also find in many places online are very similar to the “regular” LoRA models you already know, but more efficient and easier to train. In fact, the LoRA models you’ve just learned about are now in a way a part of the LyCORIS family!
To learn more about LyCORIS models (and you really should at this point), check out our complete simple guide to LyCORIS here: How To Use LyCORIS Models In Stable Diffusion – Quick Guide. It’s really worth a quick read if you’ve already gotten through this post!
You can use LyCORIS models basically in the exact same way you just imported your first LoRA, and there are lots and lots of creative models of this type out in the wild! Good luck and have fun!