Whether you’re tinkering with some AI-based software, training AI models, or simply working on something that requires you to use a large chunk of the video memory of your graphics card, you might be wondering what exactly is the “Shared GPU memory” parameter in the Windows 10 and 11 task manager, and what exactly does it show you. Here is the quick answer.
You might also like: Best GPUs For Local LLMs This Year (My Top Picks!)
Quick Summary:
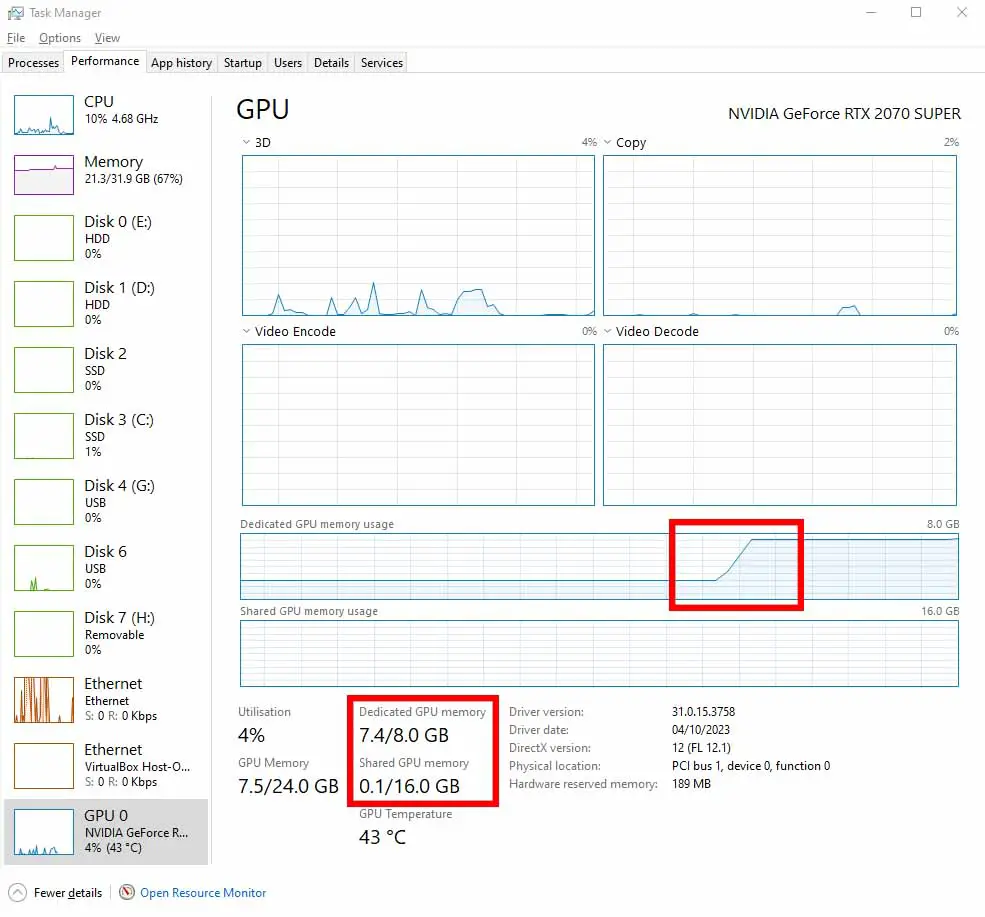
Here is what the GPU memory indicators mean in both the task manager (in Windows 10 and 11):
- Dedicated GPU memory (VRAM) – video memory physically present on your graphics card.
- Shared GPU memory – a dynamically allocated part of your system RAM used by the GPU once it runs out of VRAM.
- GPU memory – the sum of dedicated and shared GPU memory, that is, the overall amount of memory accessible by the graphics card on your system.
Read on if you want to know more!

The amount of “Shared GPU memory” you can see in your task manager under the GPU tab, shows you the amount of your main system RAM that can be used by the graphics card if it runs out of its own video memory – VRAM. This value can be usually adjusted in BIOS, of course within the existing system RAM constraints.
Shared GPU memory is commonly used by iGPUs, that is by integrated graphics chips that are built into many modern CPUs, which don’t have their own internal video memory.
With the default Windows 10 and 11 configuration, the operating system can dedicate up to 50% of the available RAM to the GPU, if it ever runs out of VRAM.
Graphics cards have their own memory hierarchy, including the fastest memory which is the cache, the dedicated video memory (VRAM), and then, the shared system memory we’re talking about, physically allocated outside of the GPU itself.
So in summary, the “Shared GPU memory” simply refers to the part of your computer’s RAM used when there is no more video memory to allocate on the GPU, and is an artificial digital extension of your graphics card on-board VRAM memory.
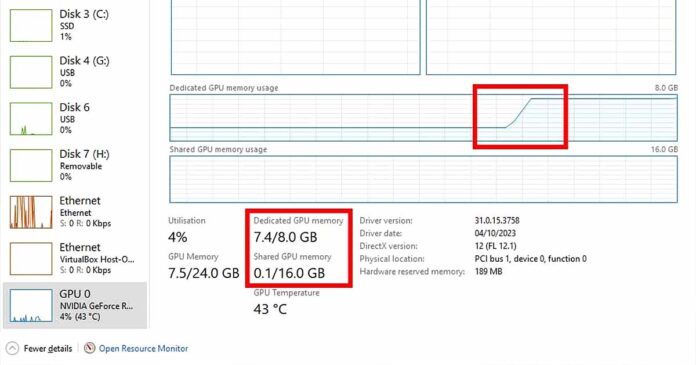
Remember, the amount of shared GPU memory is not the amount of your available VRAM. The amount of VRAM you have can be checked on the “Dedicated GPU memory” indicator, which in the task manager is shown right above the shared memory value.
Some Apps Might Get Slow When You Run Out of VRAM

When your GPU starts making use of the shared GPU memory area in the system RAM, some of the software you’re using might slow down substantially. This is especially true when it comes to generative AI apps like the Automatic1111 Stable Diffusion WebUI, or the OobaBooga Text Generation WebUI, but also many other GPU memory intensive software.
In many of these apps, including the two already mentioned (especially after the driver 536.40 update on NVIDIA GPUs), you often won’t be notified that you have ran out of VRAM, and the piece of software you’re using won’t crash and will continue working. Despite that, you may notice huge slowdowns when it comes to model inference or training.
The reason for the GPU slowing down when the VRAM runs out, is that the video memory chips are placed inside the GPU itself, while RAM is quite obviously placed farther away on the motherboard. Even if your system RAM would match your GPU VRAM in terms of speed (and on higher-end systems they often can be almost equally efficient), in the end the time required for the data transfer between components is the factor that causes the huge loss of performance.
Sadly, as you’re stuck with the amount of VRAM your GPU has on board until you decide to upgrade, you can’t really do anything about it other than search for VRAM optimization methods for the software you’re facing memory issues with.
Check out also: Run Stable Diffusion WebUI With Less Than 4GB of VRAM – Quick Guide
The amount of your main system RAM that your GPU can make use of, can in most cases be set in your system BIOS. However, there aren’t really many cases in which changes to the basic default 50% rule are needed.
When your GPU isn’t doing memory intensive work, the shared GPU memory remains unallocated and can be used by other programs automatically, without any trouble. When it’s needed, in most cases and most casual use contexts, it almost never will be filled in its entirety.
While your system most likely will allow you to change the amount of shared GPU memory, there aren’t really any benefits from having more of it available, as because of the mentioned performance issues, it is only used by the system as a last resort.
Can You Upgrade The Amount of VRAM (Dedicated Video Memory)?
Sadly, as VRAM chips are physically soldered to the GPU board, and are an integral, irremovable part of the graphics card, there is no simple and foolproof way of upgrading a graphics card’s dedicated video memory.
Although there have been tries to replace on-board GPU VRAM modules by hand, these hacks are very situational, model-specific, and require in-depth knowledge of both the chosen card’s architecture, micro-electronics, and of course, soldering. As seen in the linked article, they can also be pretty hard without knowing the exact technical manual details for the upgraded card.
If you’d like to access more VRAM on your system, you sadly just have to upgrade your GPU and keep in mind that some graphics cards out there have more available video memory than the others. Your best bet is checking out my list of best GPUs for LLM use which contains lots of cards with more than 12GB of video RAM (LLM models need as much VRAM as you can throw at them!).
Here is my other article very much related to that: Best GPUs To Upgrade To This Year (My Honest Take!)
And here is another one, if you’re not yet sure if you really need a new graphics card: 7 Benefits Of Upgrading Your GPU – Is It Worth It?

