
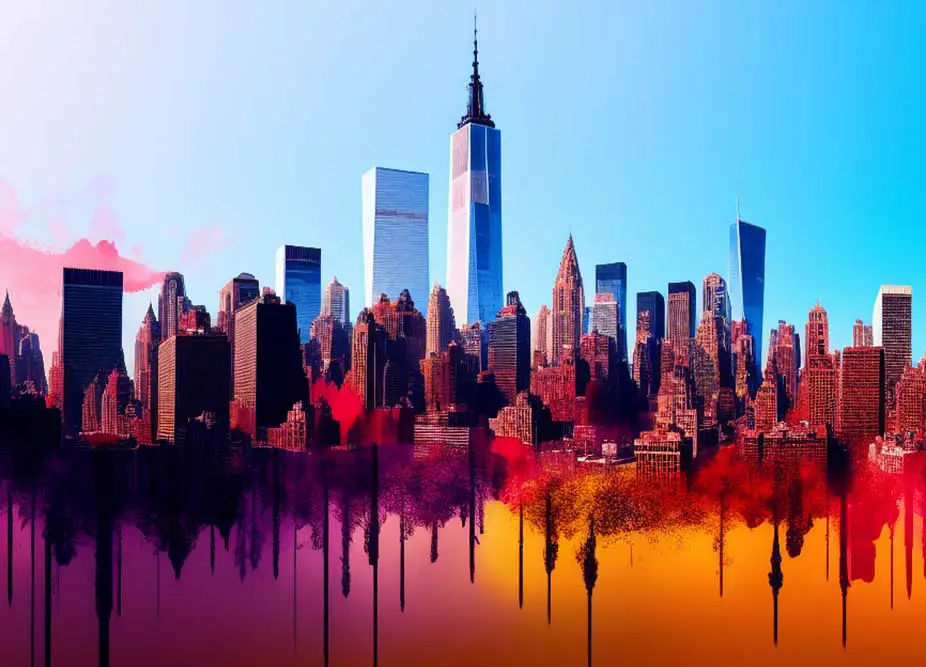
Artificial intelligence has revolutionized the world of image generation and image manipulation. Stable Diffusion and related latent diffusion generative models are powerful AI tools that are gaining a lot of attention for their ability to generate high-quality images in almost all styles you can imagine. In this short tutorial for novice SD users, we will discuss Stable Diffusion prompts and how to actually create and craft them to achieve the best results. If you’re an absolute beginner with Stable Diffusion, this article is for you!
Note: Please take note that although this guide is based on the AUTOMATIC1111 Stable Diffusion WebUI interface, the general techniques for creating prompts are identical regardless of which Stable Diffusion front-end/GUI or SD-based model you’re utilizing.
Before you read this, check out our Stable Diffusion Guide for Beginners here: Stable Diffusion WebUI Settings Explained – Beginners Guide
- What Are Prompts Exactly – Stable Diffusion
- Main Prompt & Negative Prompts
- Main Prompt – The Image Description
- Negative Prompts – What You Don’t Want To See
- Changing The Weight of Your Prompt Keywords
- Same Prompt with Different Models?
- Sampling Methods
- Experimentation is Key
- Where to Find Stable Diffusion Models
- Final Tips for Building Good Stable Diffusion Prompts:
- The Conclusion – Stable Diffusion Prompting
What Are Prompts Exactly – Stable Diffusion
Stable Diffusion and related latent diffusion models are able to generate unique images based on their training sets, in the response to an input prompt in a textual form. The input prompt is basically a language representation of what you want the model to generate and then output in a form of an image.
A prompt can be as simple as a list of a few keywords or as complex as a long sentence in natural language. Prompts enable the generative model users to specify all the characteristics of their desired output image in detail. There are two types of prompts you can supply before you initialize the image generation process.
Main Prompt & Negative Prompts
In case of the classic Stable Diffusion Automatic1111 WebUI, you have the option to populate two prompt input boxes before you begin your image generation process. There is a main prompt box for your image description, and a negative prompt box present in the user interface.
Main Prompt – The Image Description
The main prompt simply tells the AI to include a specific thing (or a list of things) and their distinct, user specified characteristics in the final output image, as well as the characteristics and style of the image as a whole.
For example, if you want to generate an image of an astronaut floating in space, you could use a main prompt along the lines of: “astronaut floating in space, stars, realistic, sharp, detailed”. Your main prompts can be both a sentence in English language, as well as a simple list of keywords akin to stock photo descriptions on various online marketplaces.
In general, the more detailed and descriptive the prompt, the better and more accurate the generated image will be.
Negative Prompts – What You Don’t Want To See
Negative prompts are used to tell the AI what not to generate or what you don’t want to see in your image. For example, if you want to generate a realistic image, you might want to avoid using words like “cartoon” or “illustration”. If you’re generating a human face and you see that the model’s eyes are not in focus, you can include “blurry eyes” and “soft focus” in your negative prompt input box to achieve better results.
Negative prompts can help you refine the output by removing the unwanted elements you list out. In most cases, they simply take form of enumerating things that shouldn’t be a part of the final generation.
You might also like: Windows XP Today – Your Questions Answered!
Changing The Weight of Your Prompt Keywords
If you want a certain keyword to be more important for the generative model so to speak, you can attempt to increase its weight. If we look at the Automatic1111 WebUI, which is one of the popular user interfaces for local Stable Diffusion deployments, you do it by simply writing your desired weight value after your prompt keyword in parentheses like this: (outdoor scene:1.40).
Another, simpler way to do this is to simply add parentheses to the keyword. The more parentheses you add, the more important the keyword will be in the generation process. This is done like this: ((((outdoor scene)))). A keyword with one set of parentheses will have a weight of 1.1. Keyword with double parentheses – 1.1 * 1.1, and so on.
This works both for positive and negative prompts.
Same Prompt With Different Models?
Can you use the same set of textual prompts across different models? Well, yes, but in most cases this will yield completely different results across varying models/checkpoints. There are two main reasons for this.
The first one is that different models are usually trained on different image sets which is why each model has a chance to be good at generating different kinds and styles of imagery.
The second reason is that different models can be trained using different text embeddings. For instance, the original Stable Diffusion model is trained on image data sourced from the internet and described/keyworded automatically using the open-source CLIP image captioning model.
Other models that are based on Stable Diffusion but modified and further trained with different kinds of text embeddings can use different sets of keywords and trigger words in their prompts which in turn will make creating prompts for them a little bit different. A good example are the anything 3.0/4.5 models which were partially trained on anime-style imagery and utilize a distinct tagging system in its target prompts.
Sampling Methods
Once you’ve settled on a set of prompts, you can experiment with different sampling methods to see how they affect the image quality. Stable Diffusion offers several sampling methods, each of which has its own strengths and weaknesses.
It’s important to experiment with different sampling methods and sampling step values to find the best combination for your particular use case. In general, low sampling step values will generate a lower quality image, but this isn’t always the case with every sampling method. More sampling steps however, always means slower image generation. If you’re searching for a sampler that generates best images with relatively low sampling step values (30-40), we advise you to use Euler a which is the default choice in the Automatic1111 SD WebUI.
There are lots of settings other than choosing the sampling method and step count when it comes to Stable Diffusion. To learn all about these, check out this neat guide here.
Experimentation is Key
It often takes some experimentation to figure out what works best for a particular use case here. This is especially true for constructing reliable prompts, which can vary greatly depending on the checkpoint or model being used.
To get the best results, it’s recommended to experiment with different positive and negative prompts, as well as different weights for each keyword or phrase. The more descriptive and detailed your prompts, the better the results are likely to be, however a prompt that’s too long might also hold you back in terms of achieving a desired result. Also, keep in mind that adding new keywords to a overly long prompt begins to have less and less impact on the final generated image.
Where to Find Stable Diffusion Models

Stable Diffusion is relatively new in general, but there are already several websites where you can find pre-trained models to use with the Stable Diffusion web UI. One popular option is Civic AI, which has an extensive database of models that you can use with Stable Diffusion.
Another good option for downloading Stable Diffusion models for free is Hugging Face, which offers a wide range of pre-trained models in their database. In both cases, all the models available on these sites are completely free to use.
Final Tips for Building Good Stable Diffusion Prompts:
So, in conclusion, building basic Stable Diffusion prompts is all about a few simple things.
- Make the prompt as detailed as possible: The more detailed and descriptive the prompt, the better the generated image will be, but don’t overdo it!
- Experiment with different models/checkpoints: In general each model is trained with different image set and will yield different results.
- Use accurate negative prompts to refine the output: Negative prompts help remove elements you don’t wont in your final image output.
The Conclusion – Stable Diffusion Prompting
With the right set of positive and negative prompts, as well as some experimentation with sampling methods, SD settings and different models/checkpoints, it’s possible to generate stunning images in various different styles that meet your specific needs.
While there is no guaranteed method for generating the perfect image, the tips and techniques outlined in this article should provide a solid starting point for anyone looking to get started with creating basic Stable Diffusion prompts. With practice and experimentation, you’ll be able to generate high-quality images in no time!
See our full Stable Diffusion guide for newbies here: Stable Diffusion WebUI Settings Explained – Beginners Guide
