
This is exactly what you think it is: a large red industrial “emergency stop” button which acts as a wireless power on/off button switch for your desktop PC. It’s not only really easy to install, but it also works great as a novelty desk gadget. Having it set up for putting my computer to sleep and waking it up remotely from my bed for over two years now, I thought it’s time to follow up this rather long testing period with a hands-on review. Enjoy!
Why you can trust us: We test all of our products according to the techtactician consumer usability benchmark methodology which evaluates all of the product characteristics that matter to the user in day to day use. Enjoy the review!
This web portal is reader-supported, and is a part of the Aliexpress Partner Program, Amazon Services LLC Associates Program and the eBay Partner Network. When you buy using links on our site, we may earn an affiliate commission!
Where To Get It?

What Is It? – How Do You Use It?
This rather cool looking “Nuke Button” for your rig will act as a wireless PC power/sleep/hibernate switch after a quick 5 minute setup.
It’s very well built as you will see in a short while, has a neat click to it, and is overall one of the best novelty gadgets for a gaming room setup that I’ve seen in a while.
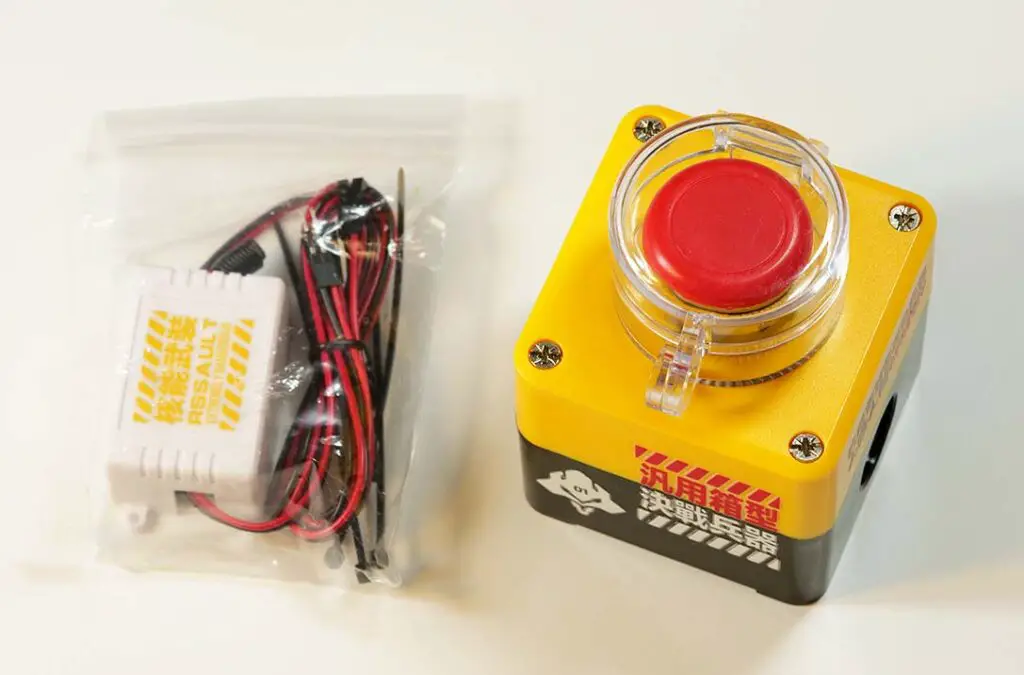
It comes bundled with a wireless receiver module and a few cable ties to help you with cable management inside your PC when you’re setting it up.
This button can be used with 99% of modern desktop PC’s, but it’s not suitable for laptops, or any other electronic devices that don’t make use of traditional motherboards, so keep that in mind.
Besides this particular model, there are also two other versions of this product, namely one with a different outer shell design (which you can get here, over on eBay), and a version that you have to assemble yourself, featuring a slightly different receiver module available here, over on Amazon.
How Well Does It Work In Practice?

Flawlessly I would say. After the quick initial setup and long months of using the button to put my PC to sleep from my bed and then wake it up in the morning without getting near it, the experience was solid.
Once you press the button, it works instantly, and the range on it is pretty good too, allowing me to wake or boot my PC up from different rooms in my small apartment.
There are two red light indicators here which go off once the button is pressed. These are present both in the receiver and inside the button case itself. They briefly turn on every time the button is pressed so that you know that the signal went through and the receiver module is working correctly.
I’m more than satisfied with this one, and honestly quite surprised it’s holding up this well considering its rather low price. It’s one of these purchases I’d recommend to anyone who’s looking for a gadget that not only looks cool, but also serves a practical purpose.
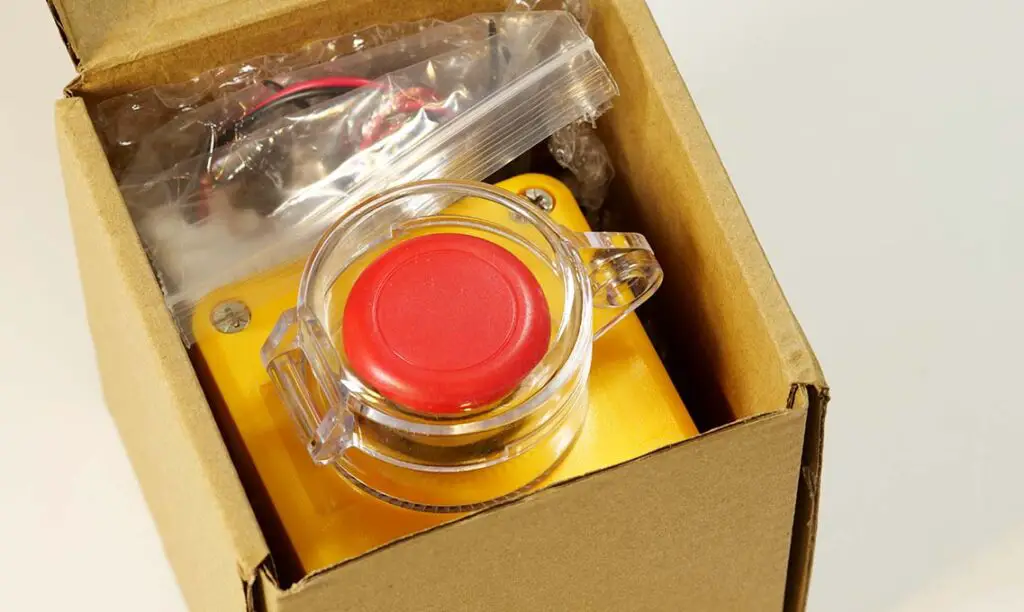
So now, let’s see what exactly do we get inside the box.
Unboxing and The Build Quality
Let’s set the receiver module aside for a short while, and take a closer look at the button itself. This button is essentially a standard industrial emergency stop switch with custom printed elements on its sides, and a transparent protective cover.

It’s build quality is surprisingly high, and I really like how you can tell that it’s an actual electrical component repurposed for being a wireless PC start button, mainly from the printed-on markings on the bottom, as well as the unused sealed cable conduit input on one of its sides.
The plastic casing is rigid and doesn’t creak or bend, and the button does have some weight to it, which makes it feel even more premium. The writings on the sides of the case are direct references to the Neon Genesis Evangelion Human Instrumentality Project and the EVA unit 01, which can be a real treat to the fans of that anime.

The cover is solid, it opens rather easily, and even after over two years of use it doesn’t seem to be more loose than it was originally. The button itself is a momentary push-button which automatically disengages after you press it, with a reasonable amount of force.
It has a very satisfying click to it, and requires a bit of strength to push in, which further adds to the overall quality feel of this little gadget. The button travel is as you can see on the photo above, about 1.5 cm, which is pretty much a standard for these type of devices.
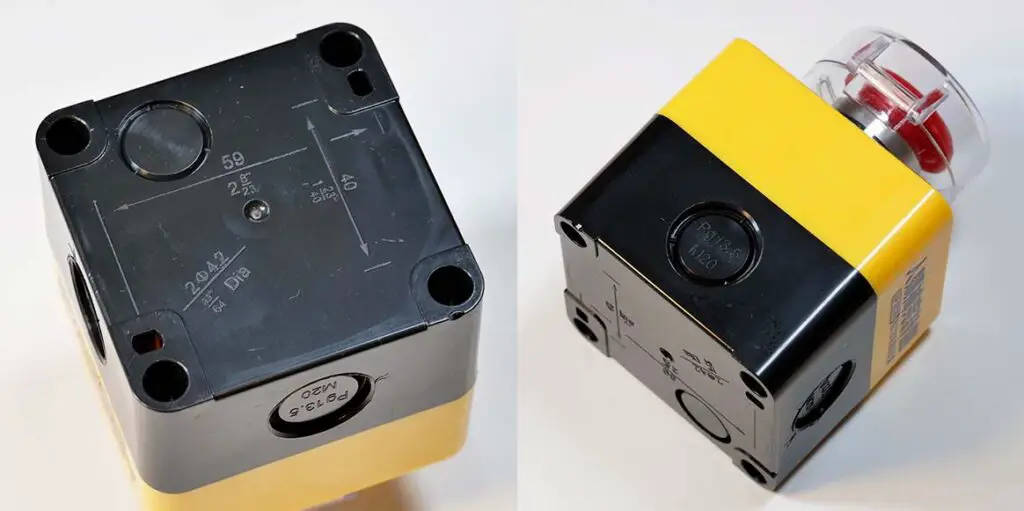
On the image above, you can see the dimension markers on the bottom of the casing, as well as the cable conduit inputs on the sides, that I mentioned earlier. This button is clearly a real repurposed industrial-grade electrical component, which further adds to its appeal, at least for me.
If you’d like to, you can open the button up, removing the 4 screws on the top of the case better visible on the previous photos. After doing that, you should be able to replace the CR2032 battery which should be present only in the transmitter (the button).
Still, as I’ve been saying, I’ve been using mine for over two years now, and it’s still going strong. According to the manufacturer claims, it can easily go on for a few more!
Now let’s move on to the receiver, and the way it connects to your PC to make the wireless boot possible.
The Wireless Receiver & The Setup Process
Aside from the button itself, the box contains the receiver, which is used to wake your PC up or turn it on upon receiving the signal from the button module.
The receiver consists of a small plastic box with a few jumper wires with Dupont connectors coming out of it.
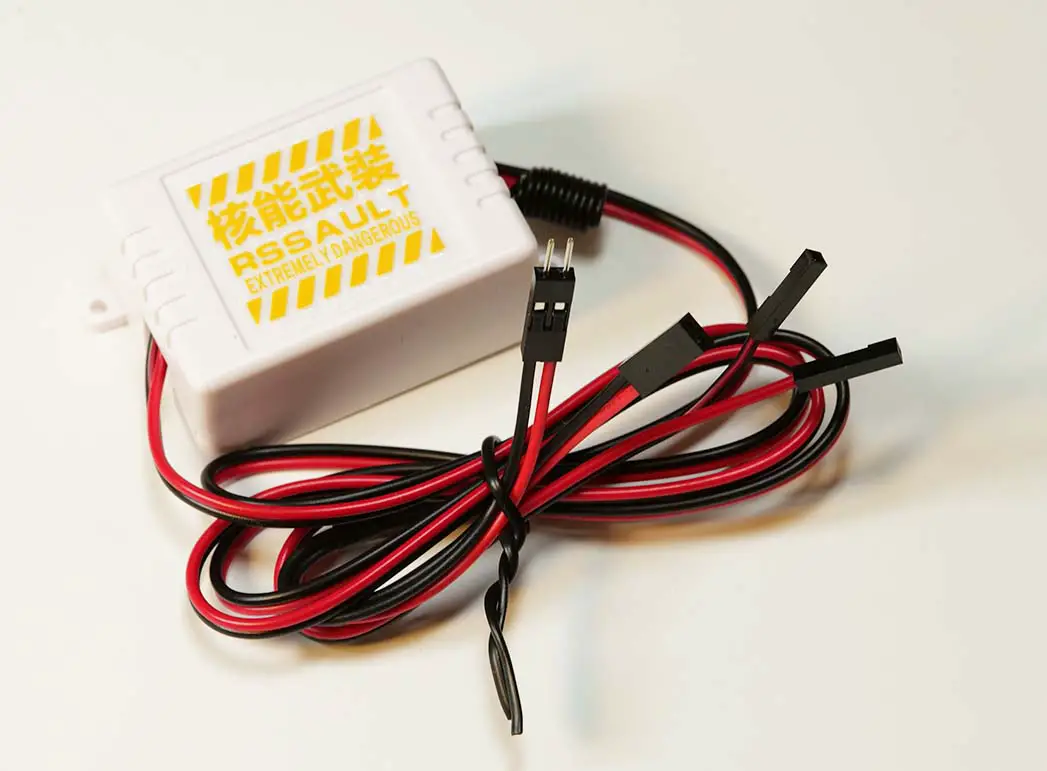
The actual RF receiver is hidden within the white compartment, while the cables are used for two things: first, to connect the module to the motherboard (to the 5V power output pins and to the power switch pins) and second, to connect it to the existing power button on your PC case so that the two can work together.
I found it pretty funny that the Chinese text on the receiver module directly translates to “Nuclear Armament”. It’s serious business after all.
Quick Setup Process – It’s Really Simple!
You can find the full setup and installation instructions here, on the product listing page over on AliExpress after scrolling down. Still, I will quickly summarize how it goes, so you have an idea of how easy all this really is to set up despite the set of cables which might look a bit daunting if you haven’t opened up your PC in a while.
So here is how you can make it work in just a few short steps.
- Set the button aside and grab the receiver with the cables attached to it.
- Power down your PC and unplug it from the outlet, and then open the case up.
- First, look inside and on your motherboard, and locate the cables coming from your old, existing case mounted power button – these should be going from the front PC panel where your power button physically is, to the POWERSW power button connector socket on the motherboard. Take note of the way it’s connected. Then, unplug it.
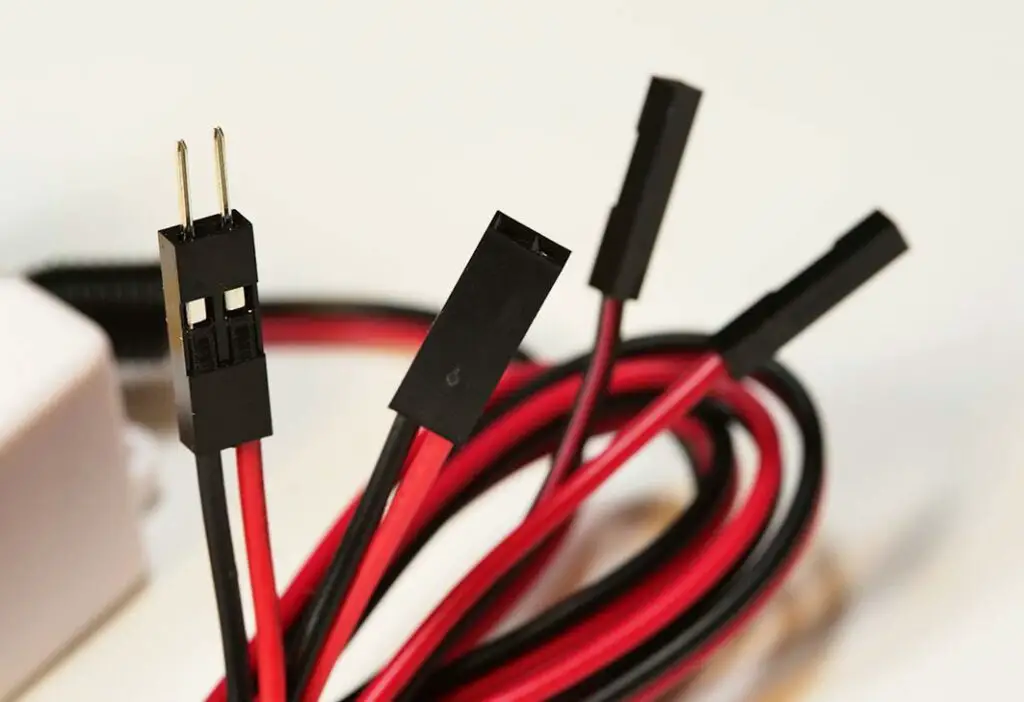
- Second, grab the first cable coming out from the receiver (the one on the left on the image above), and plug the female side to the motherboard where the power button connector had just been (POWERSW socket), and the male side to the case power button cable you’ve just unplugged, minding the polarity of the connections. This will ensure that both the signal from the receiver and the old power button on the case will be able to turn on your PC.
- Last, grab the two thinner cables coming out of the receiver (on the image above ones on the right in the back). These have to be plugged into the 9-pin USB connector on your motherboard, the red cable to the positive (5V) pin, and the black one to the ground (GND) pin. This way the receiver will have the power which it needs at all times to be ready to receive the signal coming from the button and initiate the boot sequence using the POWERSW connection.
- Now, make sure that the USB devices on your PC are supplied with power when the PC is off, and/or the USB Wake setting is turned on if present – you can change both of these settings in your motherboard’s BIOS. If the USB power is off after shutdown, the button will not be able to turn your PC on.
Important note: As the standard goes, the red wire is for power (VCC) and the black for ground (GND). Make sure that you get the polarity correct when plugging the cables in! And that’s pretty much it.
Where is the POWERSW power button connector socket? Where is the 5V power connector socket? On every motherboard these can be in a slightly different place, and there are a few different types of these sockets too. Still, there is one thing that makes this process really straightforward. And that is, your motherboard instruction manual.
As your motherboard might have the mentioned connectors in differing places and they might be labeled differently as well, always refer to the instruction manual for your particular motherboard model. Search for it online, look for the picture with the layout schematics, and then search for the placement of the connectors mentioned above.
The whole setup process from start to finish can take you as little as 5 minutes if you know what you’re doing, and about twice as much if you have to check where the mentioned connectors are on your motherboard in the instruction manual and you know what you’re looking for. Pretty neat!
There Is Also a PokeBall Version!

What is also quite cool, is that there is a PokeBall-like version of this one available from the very same AliExpress seller. Most probably it makes use of the very same internals as the industrial-styled one, and it might be a great option for some of you who are into the Pokemon universe. Just throwing it out there (pun intended).
Anyhow, that’s all for today. Grab your very own button here if you’d like, and stay tuned for more cool tech gizmos that are on the way. Until next time!