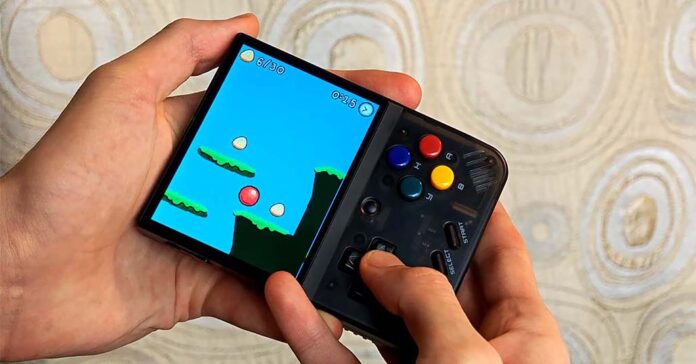
Yes, your Miyoo Mini can also play old mobile Java games, and the only thing you need for that is one additional software package. Here is how to set it up in way under 5 minutes total! This tutorial should work on both the regular versions of the Miyoo Mini, as well as on the Miyoo Mini Plus!
Are you thinking about getting yourself a Miyoo Mini Plus, but you’re not quite sure yet? Don’t get it just yet! Not before you check out my full review of the Miyoo Mini+ in which I go in-depth on all of the most important issues with the device, as well as compare it to one of its main rivals – the R36S handheld. You can find it here: Miyoo Mini Plus Handheld Emulator Console Hands-On Review.
Step 1 – Download the Free J2ME Port For Miyoo Mini
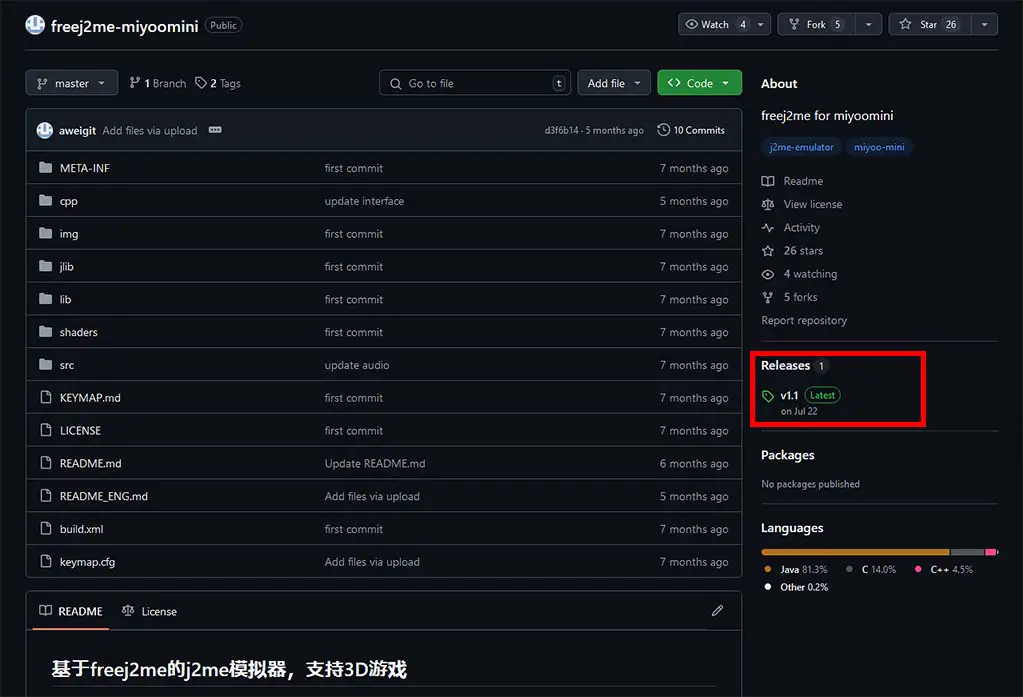
Go over to the official GitHub repository for the Free J2ME for Miyoo Mini port project by aweigit, and navigate to the “Releases” tab you can find on the right hand side of the main repo page. Click on it, to proceed to the download page.
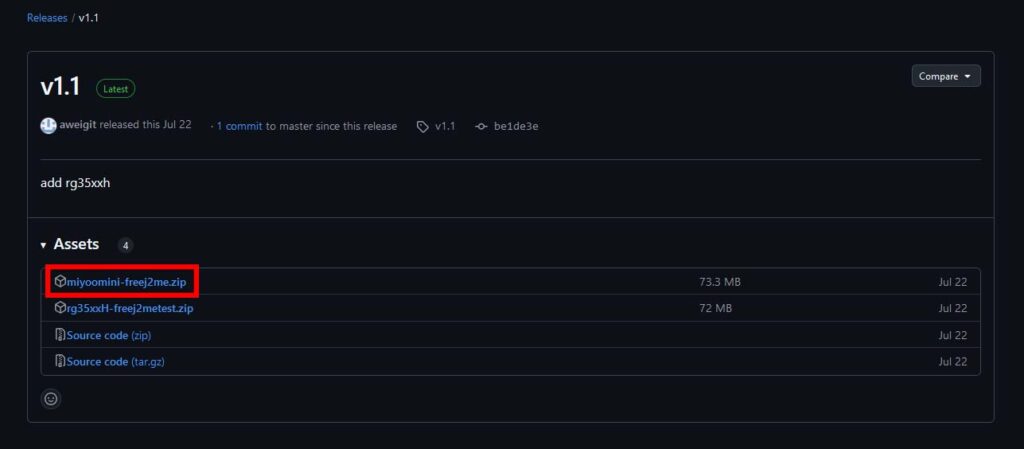
In the “Releases” page, click on the .zip archive containing the software files for Miyoo Mini to download it. Once the file is downloaded, unpack it.
Step 2 – Copy the JAVA Folder Onto The Handheld
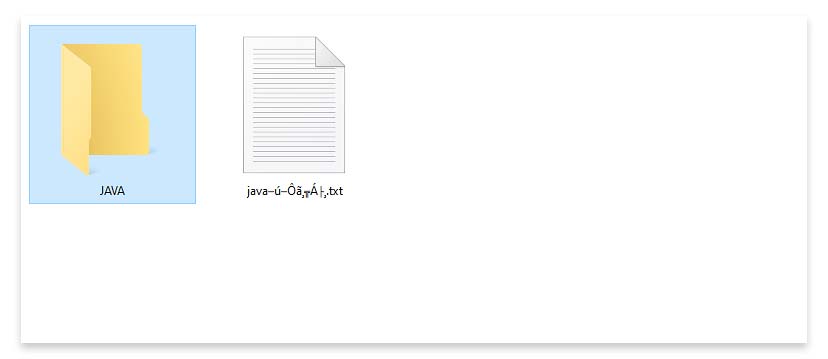
Now, we’re going to have to get the emulator software files on the console. To do this, turn off your Miyoo Mini, and remove the microSD card. Next, use a microSD card reader to connect the card to your PC.
The next step is to move the “JAVA” folder from the software archive we’ve just downloaded, into the folder named “Emu” which should be located in the main directory of your Miyoo Mini SD card.
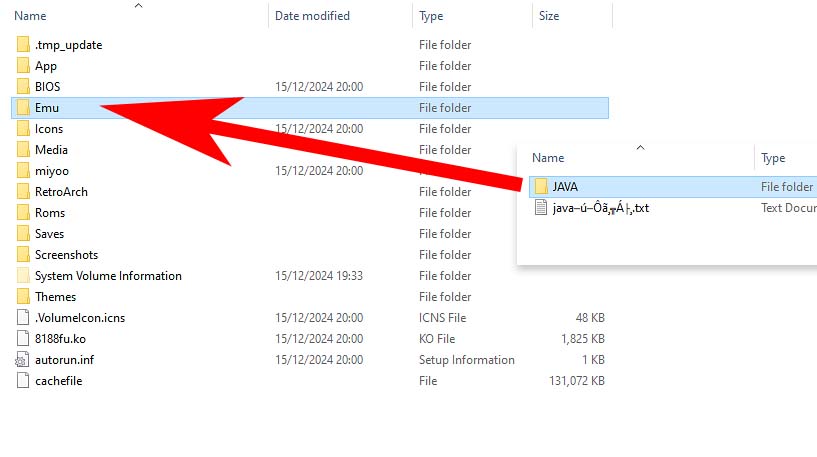
Once you’ve done that, we can move on to getting your mobile Java games in the right ROM folder, so that the emulator can actually see them once it launches.
If you want to know more about emulating old mobile Java games on your PC, as well as learn why it sometimes might be hard to find the .jar files for your favorite childhood games, check out this short article on local J2ME emulation that I wrote quite recently.
Step 3 – Get Your Java Games Into The Rom Folder
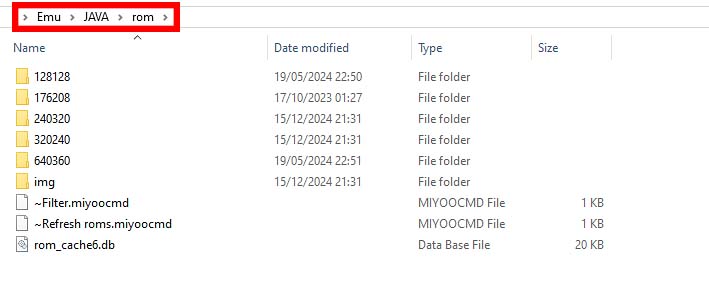
And the trick here is that the FreeJ2ME emulator doesn’t hold its ROM files in the main Miyoo Mini ROM directory (that is in the “Rom” folder in the main directory on the microSD), but rather in its own ROM folder, which is located directly in the “JAVA” folder under the path “JAVA/rom”.
Now, you might ask “but where do I get my games?” And the answer unfortunately is: use your favorite search engine to look for archived collections of .jar files containing the mobile games you want to play. The reality is, that old mobile Java games aren’t that well preserved as for example Flash games with the Flashpoint Archive initiative. This means that the only way to find the game files you want is to search for them online. Hint: archive.org is your friend!
Once you have located the folder under the “JAVA/rom” directory, you will notice that there are a few other folders located within, with different numbers in their names. These are named after different phone screen resolutions in pixels (for instance the folder named 640320 corresponds to the 640x320px phone display, and so on).

For the emulator to function correctly, you will have to put your Java game files into appropriate folders according to which screen resolution your game file was made for. Most places which archive mobile Java games do serve files with the game’s intended screen resolution appended onto the .jar filename. Back in the day, for device compatibility sake, mobile games were released in separate files for different phone screen resolutions.
If you don’t know which screen resolution your game files are meant for, unfortunately you need to find that out through trial and error, trying different folders. In most cases your best bet would be to start with the most popular screen resolution back in the day: 240×320.
The “img” folder that is also located in this directory, can be used to import images for each of the Java games you’ve imported. The images have to have be .png files with the exact same name as their corresponding ROMs, not wider than 250 pixels.
Step 4 – Locate and Run The Software on the Miyoo Mini
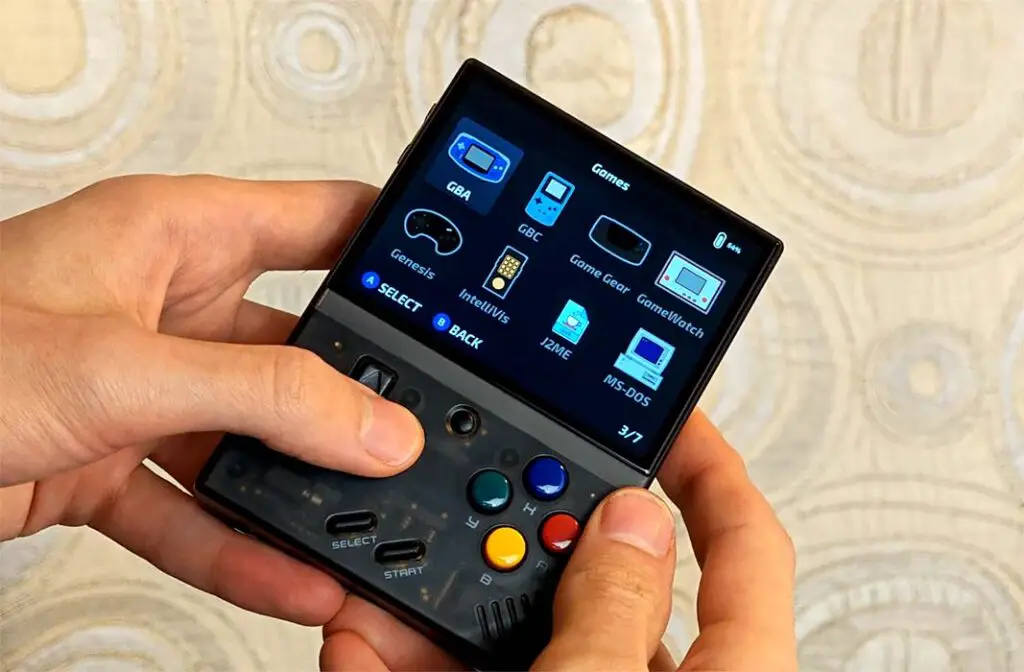
Once you’re done with all the previous steps, you can safely disconnect the microSD card from your PC, and put it back inside your Miyoo Mini. Once you’ve done that, boot up the console, and you should be able to find a new program accessible from the emulators list called J2ME.
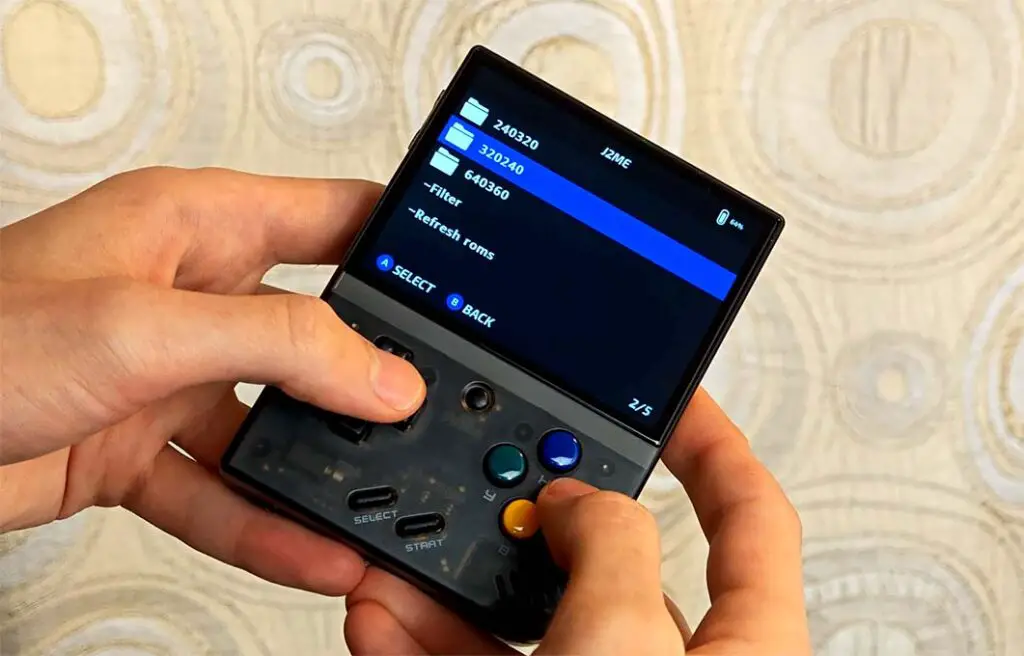
Upon selecting the emulator, you will see that all the folders named after the different screen resolutions are here. Navigate to one of the Java games you’ve moved onto the microSD, and select it to run it. That’s it!
Note that due to the nature of the base J2ME software as well as graphical complexity of some more advanced mobile Java games, not all of the games you’ll attempt to play will work without dropping frames, and some may refuse to start at all. I for example found that without overclocking the console, Galaxy on Fire 2 wasn’t able to run at full speed, although it was still somewhat playable if you don’t mind the rather low framerate.
Now let’s move on to the controls, as these can seem a bit complex if you go in blind without checking how the buttons on the Miyoo Mini correspond to the phone directional and numeric keys in the emulator.
The Controls, Screen Rotation & Mode Switching
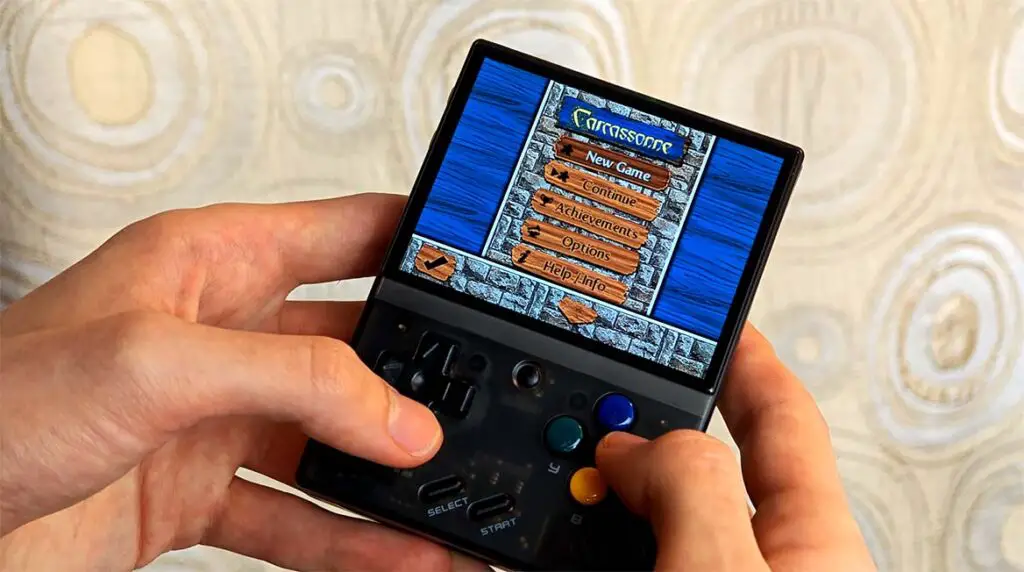
Here is a machine translation of the instructions file distributed with the FreeJ2ME Miyoo Mini version, written by the author of the port. It lists all of the MM controls translating to different mobile phone buttons, as well as the control mode switching mechanism, rotating the screen using a key shortcut, and entering the touchscreen mode which can be necessary for some games. The games should automatically save on quit if you don’t exit them during the saving process, just as they would on a regular mobile phone.
Miyoo Mini FreeJ2ME Usage Instructions / Controls List
- Default Key Mapping:
Y: Mobile’s top left buttonA: Mobile’s top right buttonX: Mobile’s “OK” button (usually the confirm button)B: Mobile’s number 0 keySelect: Mobile’s * keyStart: Mobile’s # keyL1,R1: Correspond to number keys 1 and 3L2,R2: Correspond to number keys 7 and 9Menu button: Force exit the game (or use the in-game exit menu)- Key Mode Switching: Use
Select + Start(# key) to switch key modes. HoldSelect, then pressStart. This is useful for resolving key mapping issues in certain games. Five modes (p,n,e,s,m) can be cycled through, with the default beingp. The selected mode is saved to a configuration file and will be used automatically in future sessions. The current key mode is displayed in the top left corner when switching or starting a game. - Rotate Screen: Use
Select + B(0 key) to rotate the screen 90° clockwise or counterclockwise. This is useful for 240×320 games, which can then be displayed fullscreen. After rotation, the directional keys will adapt accordingly. - Touchscreen Mode: Use
Select + Y(left button) to enter touchscreen mode, where a white mouse cursor will appear. TheXbutton acts as the confirmation key. UseSelect + Yagain to exit touchscreen mode.
- Adjust Volume: Edit the
soundLevelvariable in thelaunch.shfile (values range from 1 to 100). For example,soundLevel=50sets the volume to 50%.
Important note: If your game controls don’t work as they should right off the bat, be sure to try out all of the 5 key modes using the Select+Start button combo as explained above.
Another neat tip is that you can decrease the general volume of all the emulated games by editing the soundLevel parameter in the launch.sh file which is located in the JAVA folder, should your overall game volume be too loud and you wouldn’t be able to comfortably decrease it using the Miyoo Mini hardware buttons.
In the very launch.sh same file you can also increase the Miyoo Mini CPU clockspeed in the same manner as you do when overclocking the RetroArch cores for better performance.
That’s It! – Enjoy a Whole New World of Portable Games on Your Miyoo Mini
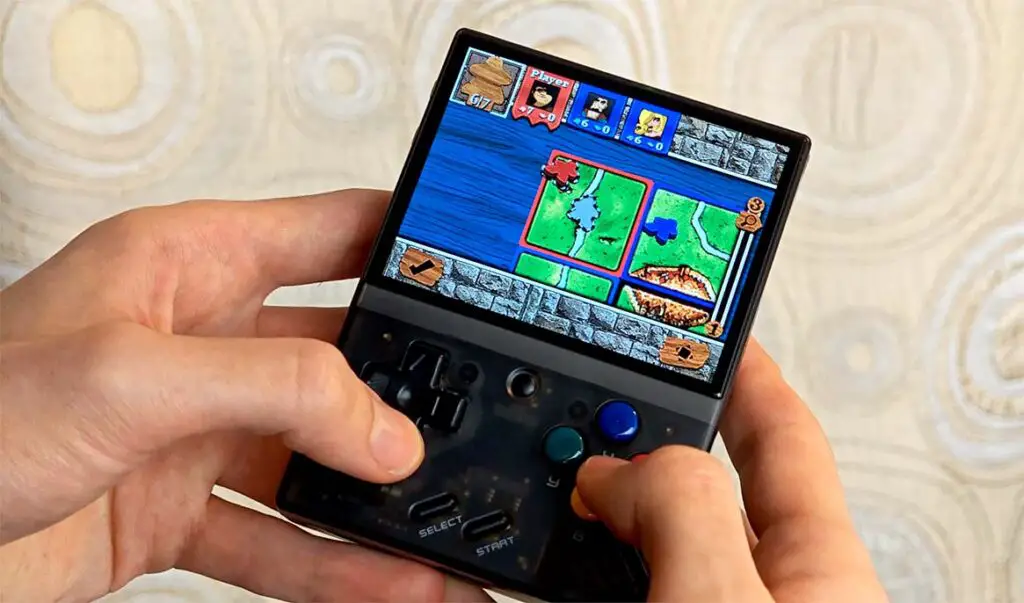
Once you get into it, there are hundreds of different old mobile Java games that are worth exploring, many of them developed by large game studios such as EA or Ubisoft. In the age of Java & Symbian mobile gaming, the quality of some of the titles released for the rather small displays of the era was in many cases pretty high considering the hardware limitations of the mobile phones from this time.
Have fun exploring the capabilities of FreeJ2ME and other cool features of your Miyoo Mini. Did you know that the R36S handheld is also capable of running a different ported version of the very same software? Well, it does, albeit with a little bit more tinkering. If you’d like to know more about this device, which is one of the main rivals of the Miyoo Mini, you can check out my full review of it here!

