
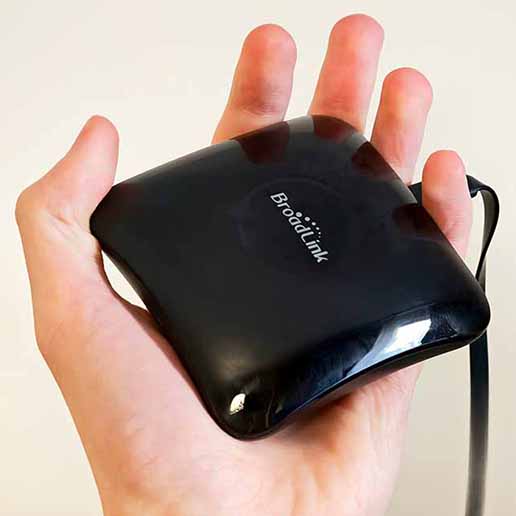
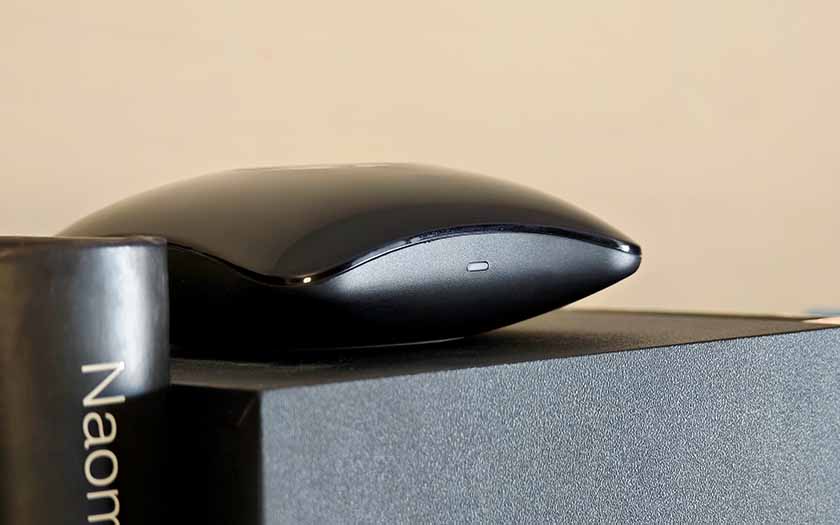
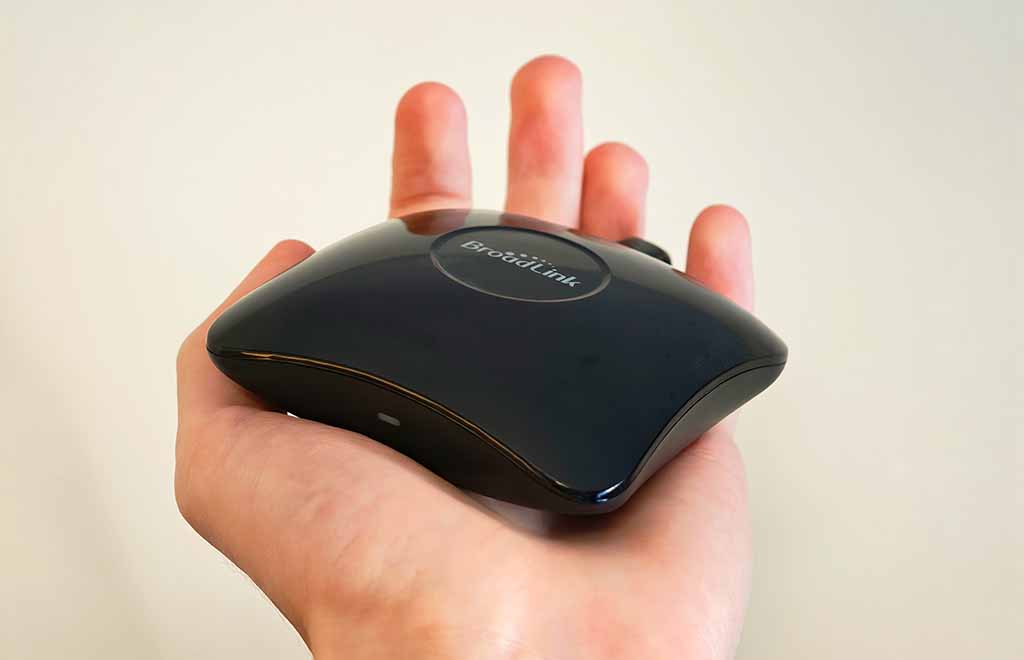
I’ve been using the Broadlink RM4 Pro for over two years now, mainly to smarten up an IR-controlled fan and RF-controlled smart sockets in my home office. It’s a great all-in-one device if you need both IR and RF (fixed-code 433 MHz) control in one box, and setting it up to replace custom remote controls is easier than it seems. Here is my review of this device, alongside the instructions on how to set it up within Home Assistant in just a few minutes.
Why you can trust us: We test all of our products according to the Tech Tactician consumer usability benchmark methodology which evaluates all of the product characteristics that matter to the user in day to day use. Enjoy the review!
This web portal is reader-supported, and is a part of the AliExpress Partner Program, Amazon Services LLC Associates Program and the eBay Partner Network. When you buy using links on our site, we may earn an affiliate commission!
Quick Specs Table
A simple way to “smartify” IR devices (TVs, AC, fans) and many fixed-code RF remotes. Connects to 2.4GHz Wi-Fi, then lets Home Assistant learn and retransmit remote commands on demand.
| Model | Broadlink RM4 Pro |
| Connectivity | Wi-Fi 2.4GHz (802.11 b/g/n) |
| Control Types | IR (38kHz) + RF (fixed-code) |
| RF Frequency | 433 MHz (fixed-code remotes) |
| IR Range | ≤ 8m (Typical, line-of-sight) |
| RF Range | ~20m (Open space; walls reduce range) |
| Power Input | DC 5V ⎓ 1A |
| Connector | Micro-USB |
| Power Use | ≤ 1W |
| RF Note | Rolling-code RF remotes are not supported |
My Overall Experience – Device Pairing & Reliability
Overall, I’ve been using the Broadlink RM4 Pro for over two years now, and I’m very happy with it, especially considering that I didn’t have any issues with it during that time. Another reason why I’m quite fond of this device is that it supports both IR and RF 433 MHz remotes, it spared me the trouble of cluttering my Wi-Fi network with two different devices for cloning each remote type. Having upgraded from the Broadlink RM Mini 3 which didn’t have RF capabilities, I’m pretty fond of this all-in-one solution.
One of the best things about the RM4 Pro is that you can set it up using the Broadlink app only once, and then ditch the Broadlink software completely, relying solely on Home Assistant to both clone your remote controls, and manage the device.
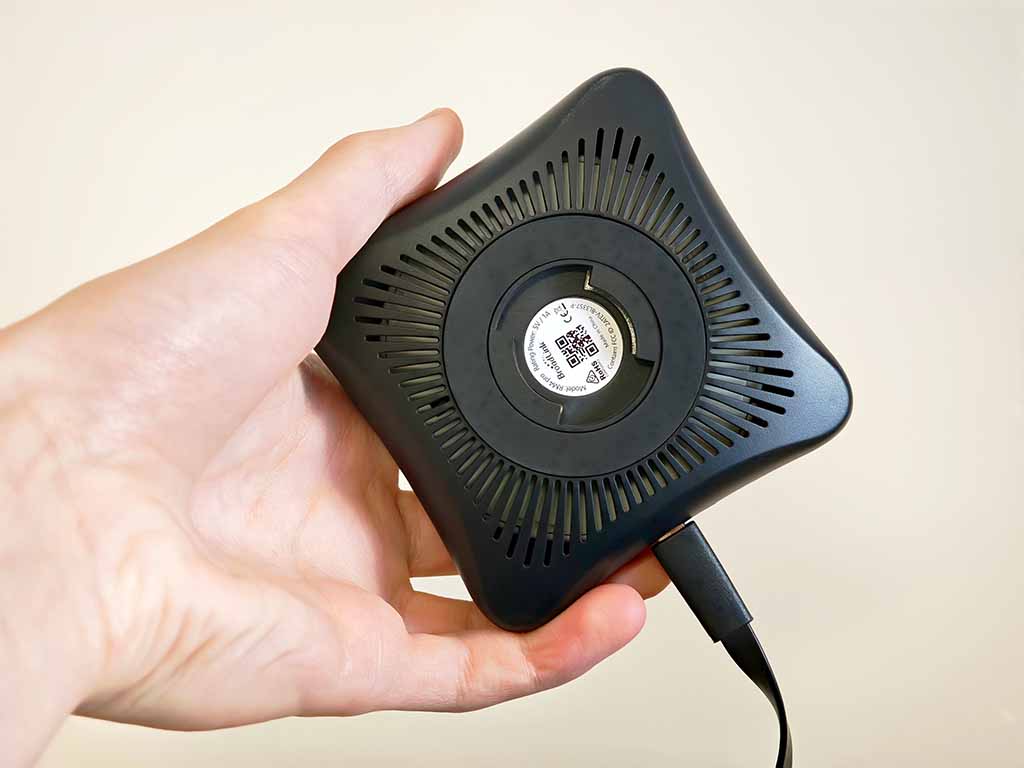
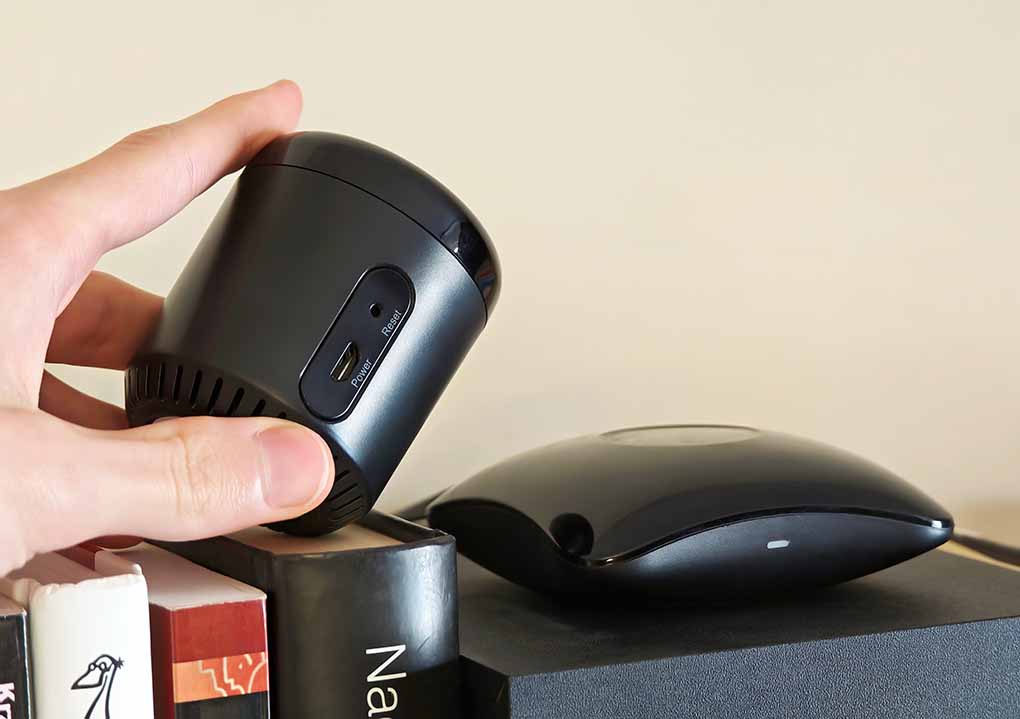
While the RM4 Pro comes with a rather long Micro-USB cable (a bit archaic by today’s standards), it doesn’t come with a power adapter. You have to use a simple 5V 1A power supply like this one here to give it the juice it needs to work properly.
The device connects to your 2.4GHz Wi-Fi network, and presents itself to Home Assistant via an IP address, so in a best case scenario you want to be able to give it a static IP address in your Wi-Fi AP (access point). If your router changes the RM4 Pro’s IP, Home Assistant may lose it until you update the integration’s host address (or you reserve the IP in DHCP).
You might also like: 8 Best Zigbee Smart Home Devices to Start With (That I Use Daily)
Over the time I’ve been using the RM4 Pro, I only had one significant power outage event when the device disconnected from the network and was no longer detected by Home Assistant. This however is kind of on me, as I didn’t configure a static IP address for the device in my access point/router, and it “forgot” its place in the network once the power came back on.
Re-pairing the device in the Broadlink app (which I briefly reinstalled) fixed it, and all of my learned commands stored in Home Assistant stayed intact.
We’ll get to the pairing and setup process in a short while. It’s really easy to get started with the RM4 Pro in Home Assistant in more or less 10-20 minutes of your time, although the process might seem complicated at first, as it uses the HA developer tools to clone the remote commands.
What I Use it For – An IR Example
One of the uses I found for the Broadlink RM4 Pro in my home office is dynamic control of my otherwise “dumb” tower fan. The fan is positioned in such a way that it faces me when I’m working on my PC, and the office couch when I’m taking a break, but it’s a regular IR device without any smart features by default.
I needed to be able to control it without relying on its original IR remote, from two places: my desk chair and the couch. I also wanted a timer that will automatically shut off the fan should I take a nap that’s gone out of control.
So, I quickly set up the RM4 Pro to copy the three most basic actions from the original fan remote, and then created automations for turning it on/off, and then changing its speed setting, as well as toggling its in-built temperature/mode display.
As the fan was set to have the display on while it’s operating by default, my main “fan toggle” automation consisted of:
- Turning the fan on (first button press).
- Turning its in-built display off (second button press).
As both the “turn fan on” and “turn LED display off” buttons on the remote were simple two-way toggles, the automation laid out above was also able to work both ways – as a device toggle control, turning it on while it’s off, and vice versa.
The second action I set up was cycling through the fan speed settings. As this function on the original remote was also a one-click action, this was equally easy.
Having done that, I bound my new “fan toggle” automation to a single-press on this exact Tuya Zigbee button, and the “fan speed up” action to a long press. I then mounted the button under my desk using double-sided tape, and voila – all done. After figuring out how to integrate Home Assistant with the Stream Deck, I also made a few custom dynamic buttons for controlling the fan on there.
The second step was to set up a timer that would enable me to click one button, and have the fan run for 30 minutes, and then turn off. While the remote has a dedicated timer button, I figured I could implement this function fully on the Home Assistant side, thus circumventing the need to add yet another button to the RM4 settings, and granting me the ability to use custom timer values.
In the end, I used the timer integration to trigger alongside the “fan toggle” when the “fan timer” automation is run, and after a set time, run the “fan toggle” again, to turn the fan off.
Then, I’ve bound the “fan toggle”, “fan speed up”, and the “fan timer” automations to separate button actions on my Tuya 4-Gang Scene Switch hanging above the couch (also a wonderful device, you can check out my full review of it here), and just like that I’ve finished integrating the “dumb” tower fan with a speed toggle and an automatic timer into my home office setup.
All this, and much more (e.g. controlling your AC, TV, RF outlets) is possible with the RM4 Pro which is essentially able to copy almost any IR and RF 433 MHz remote control button you throw at it.
You might also like: MOES 4-Gang Tuya ZigBee Switch – Hands-On Review
The Effective Range
When it comes to the effective range, quite understandably, even though it’s engineered to send the IR signals in a certain radius around the device, the IR module ideally needs to be in clear line-of-sight distance from the device you’re controlling, and if there are physical obstructions along the way, you might end up with commands that will need a few repeats to fire, or that won’t reach the target device at all.
The RF range, although it’s much more forgiving than IR just because we’re talking radio waves instead of an invisible beam of light, is also affected by obstacles such as thick walls. If you need to cover multiple rooms, you’ll most likely need multiple Broadlink devices for that.
If a singular RF device you want to control is outside of the room you plan to put the RM4 Pro in, it comes down to trial and error when it comes to its positioning, as well as the positioning of the RF device in question. Within the confines of one room I never had any issues with either IR or RF signal getting lost in transit.
The Setup & Remote Cloning Process with Home Assistant
The RM4 Pro requires the Broadlink mobile app only during the initial setup. Once the device is connected to your Wi-Fi network and unlocked in the app, everything else from remote cloning to command management can be handled entirely within Home Assistant.
After powering the device and pairing it with a 2.4 GHz Wi-Fi network using the Broadlink app, you simply need to disable the “Lock device” option in its settings. This allows Home Assistant to discover the RM4 Pro on your network. At that point the Broadlink app is no longer required, and you can remove it if you plan to manage the device exclusively through Home Assistant.
Capturing remote commands is done using Home Assistant’s Developer Tools -> Actions (previously called “Services”) menu via the remote.learn_command action. When triggered, the RM4 Pro listens for a signal from your physical remote, allowing you to store IR or RF commands that can later be retransmitted using remote.send_command. These commands can then be integrated into automations, scripts, or dashboards just like any other Home Assistant entity.
If you’d like to see more detailed instructions, I have a full quick starter guide on how to pair the Broadlink RM4 Pro with your IR & RF remotes and set it up in your network with Home Assistant. You can check it out here: Setting Up The Broadlink RM4 Pro With Home Assistant – Quick Starter Guide
So, My Final Verdict Is…
I really like it, and will surely find even more uses for it as time goes by. Being able to make devices such as IR/RF controlled fans, radio & TV sets, aircon units, etc. part of your Home Assistant ecosystem and use them in your automations is undeniably one of the coolest things you can do having a smart home setup in place, even in a smaller apartment. Having both IR & RF in one device for a reasonable price makes the Broadlink RM4 Pro still very much relevant to this day.
If you’re wondering about the alternatives you have, there are a few, both from Broadlink themselves, and from various generic manufacturers. The worthwhile ones include:
- Broadlink RM4 Mini – a cheaper and more compact option without the RF capabilities.
- MoesGo Wi-Fi RF & IR Universal Remote – a very similar IR & RF compatible alternative from Moes.
- OpenIRBlaster (DIY) – an option for tinkerers. An ESP32-based DIY IR blaster project (no RF). DIY options with RF capabilities also exist, although are much less widespread.
Still, I’d wager that getting the RM4 Pro to “set-and-forget” is a much better idea than going for either a cheaper, less capable and discontinued product from the brand, or taking a gamble with unbranded Tuya devices from AliExpress which might, or might not work with your current setup, and in most cases support only either IR, or RF devices.
The RM4 Pro also has a lot of organic support online, with a lot of help threads all over the various smart home communities online, as it’s still one of the most popular pieces of remote cloning hardware out there. For me, it’s still my main go-to device for remote cloning and making “dumb” devices “smart”. That’s pretty much it!
You can also be interested in: Tuya TS0044_1 Zigbee Remote From Aliexpress – Hands-On Review